Blog

Another piece to the puzzle

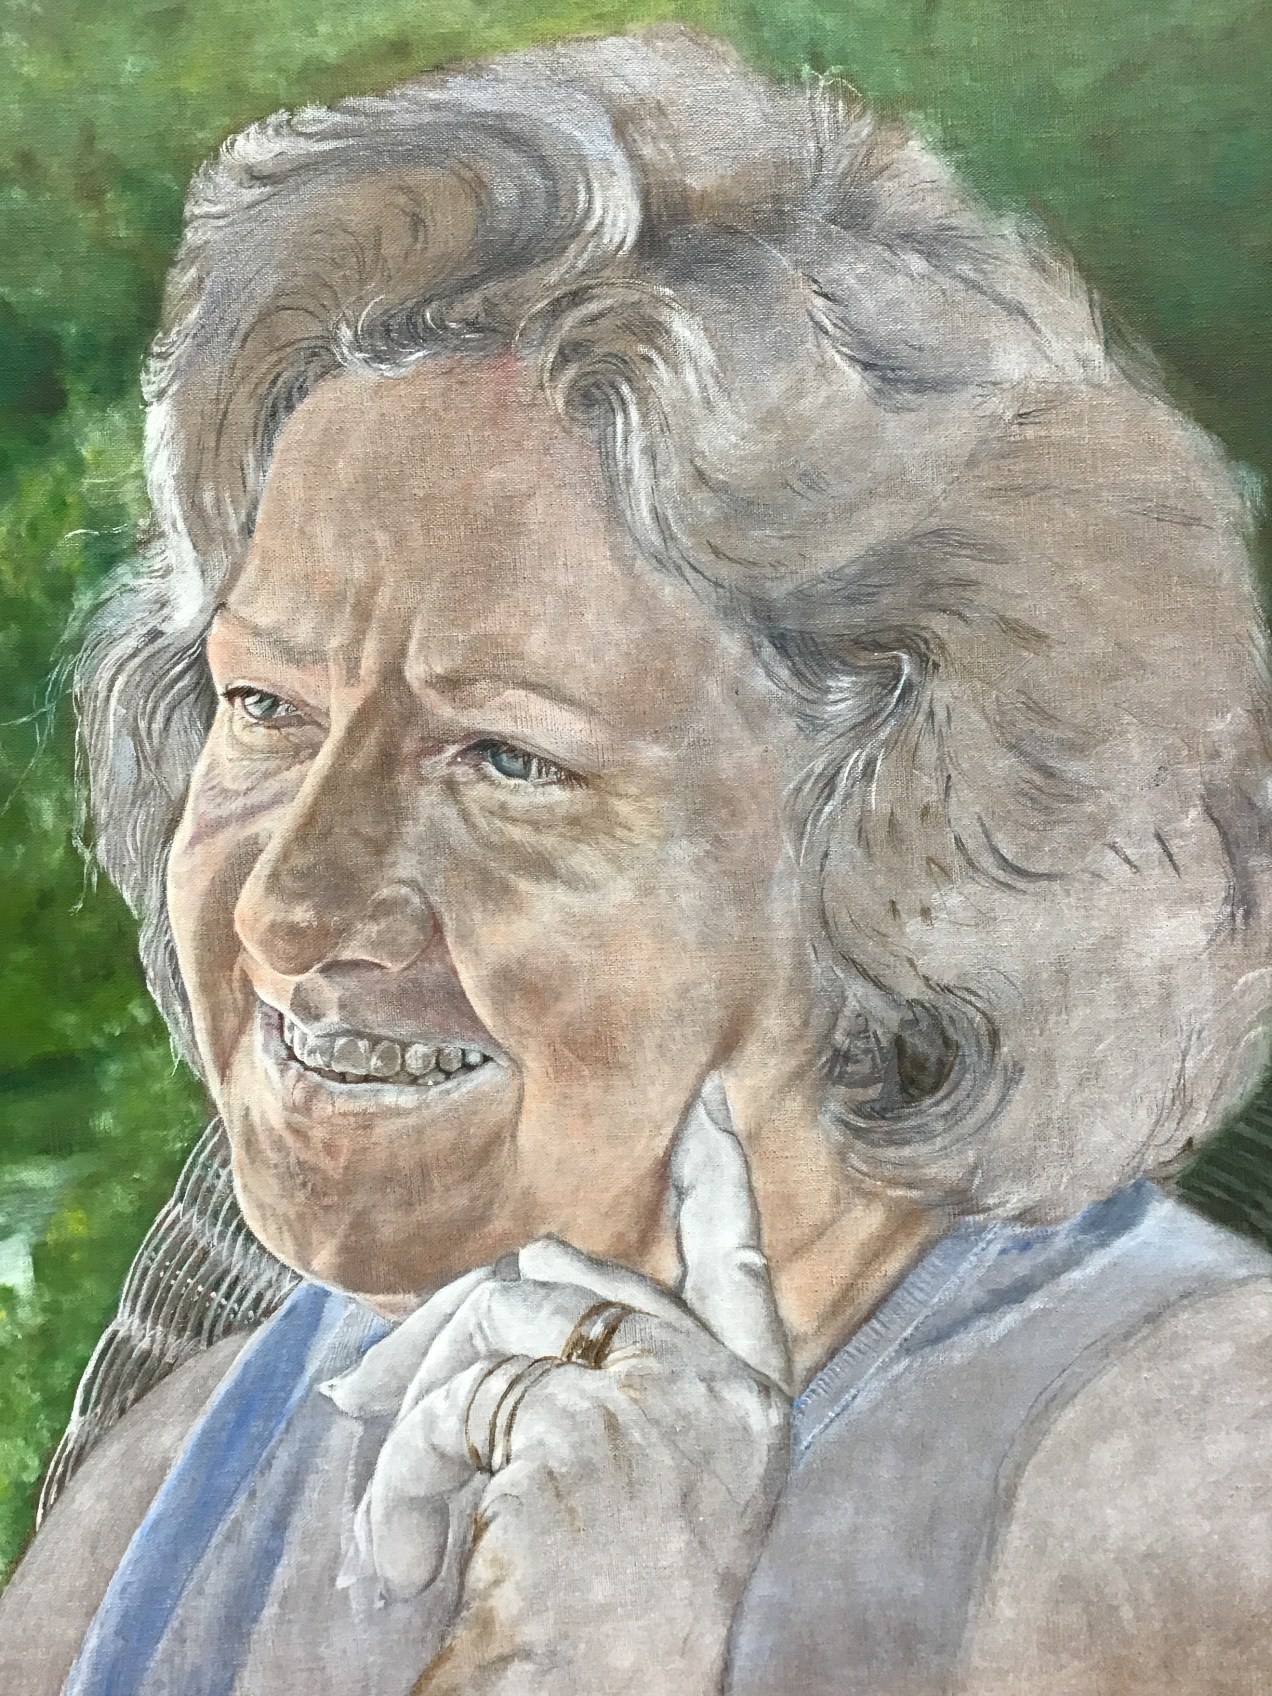
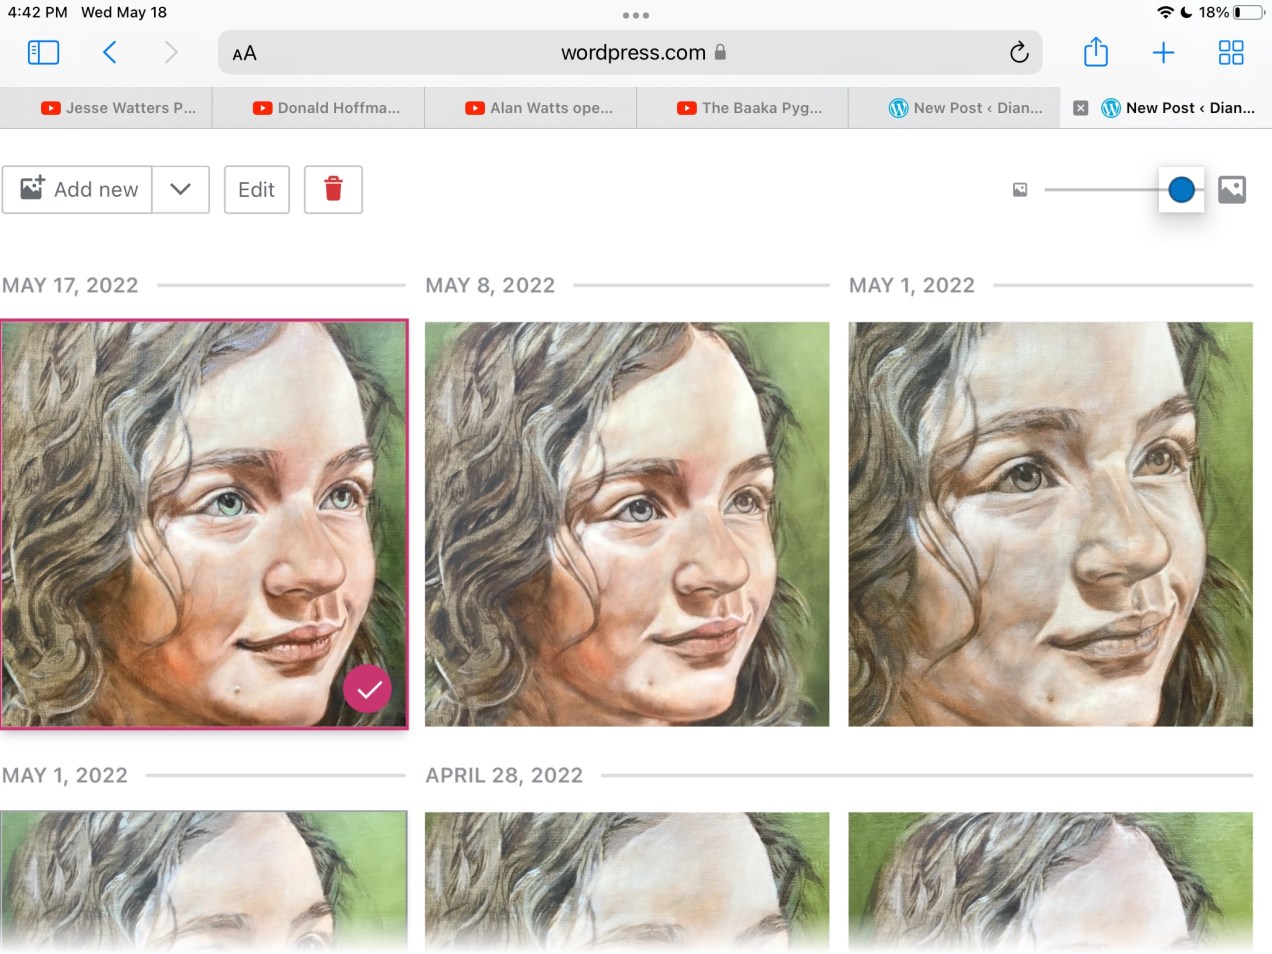
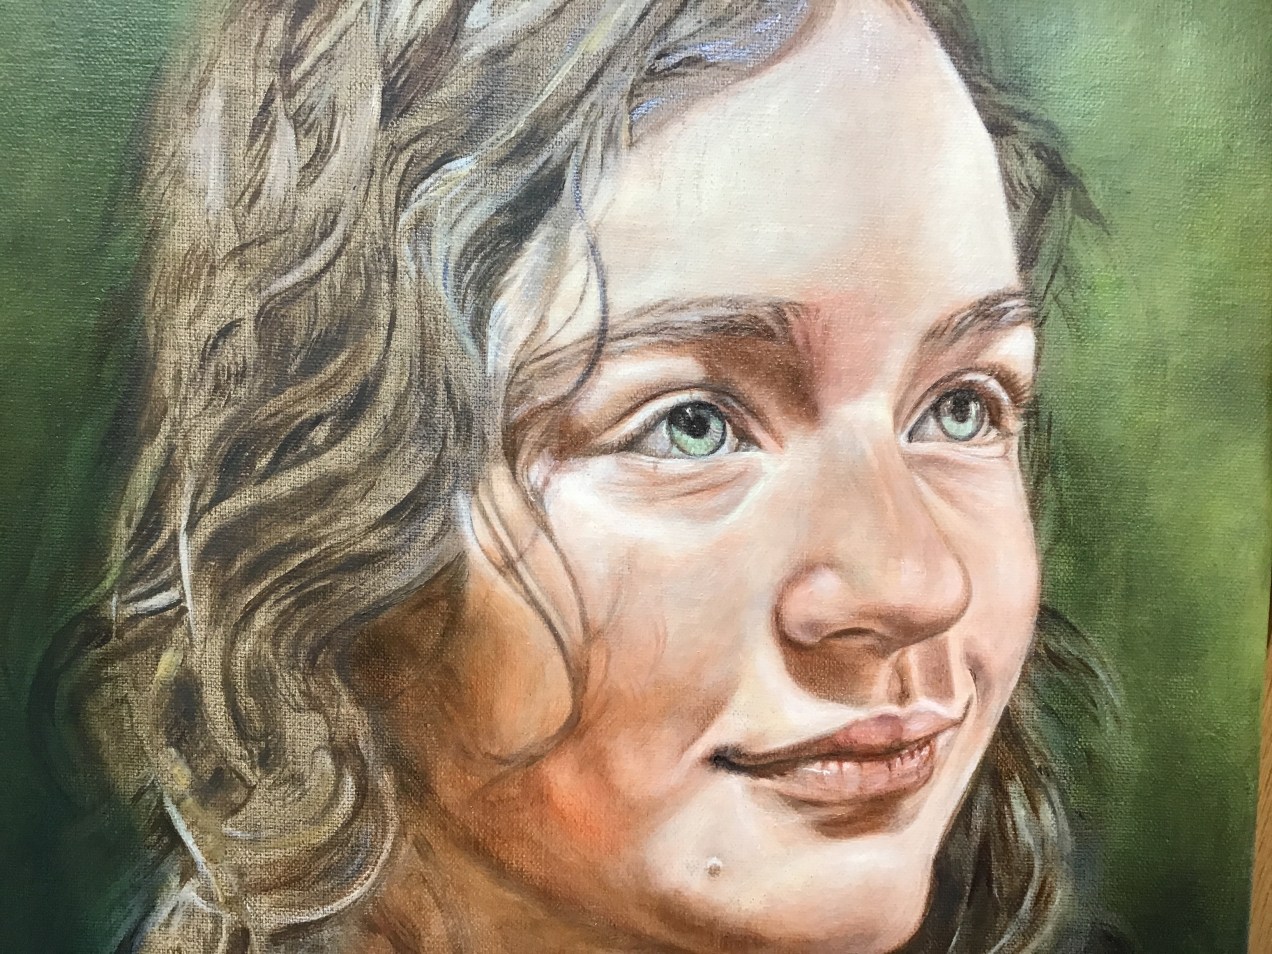
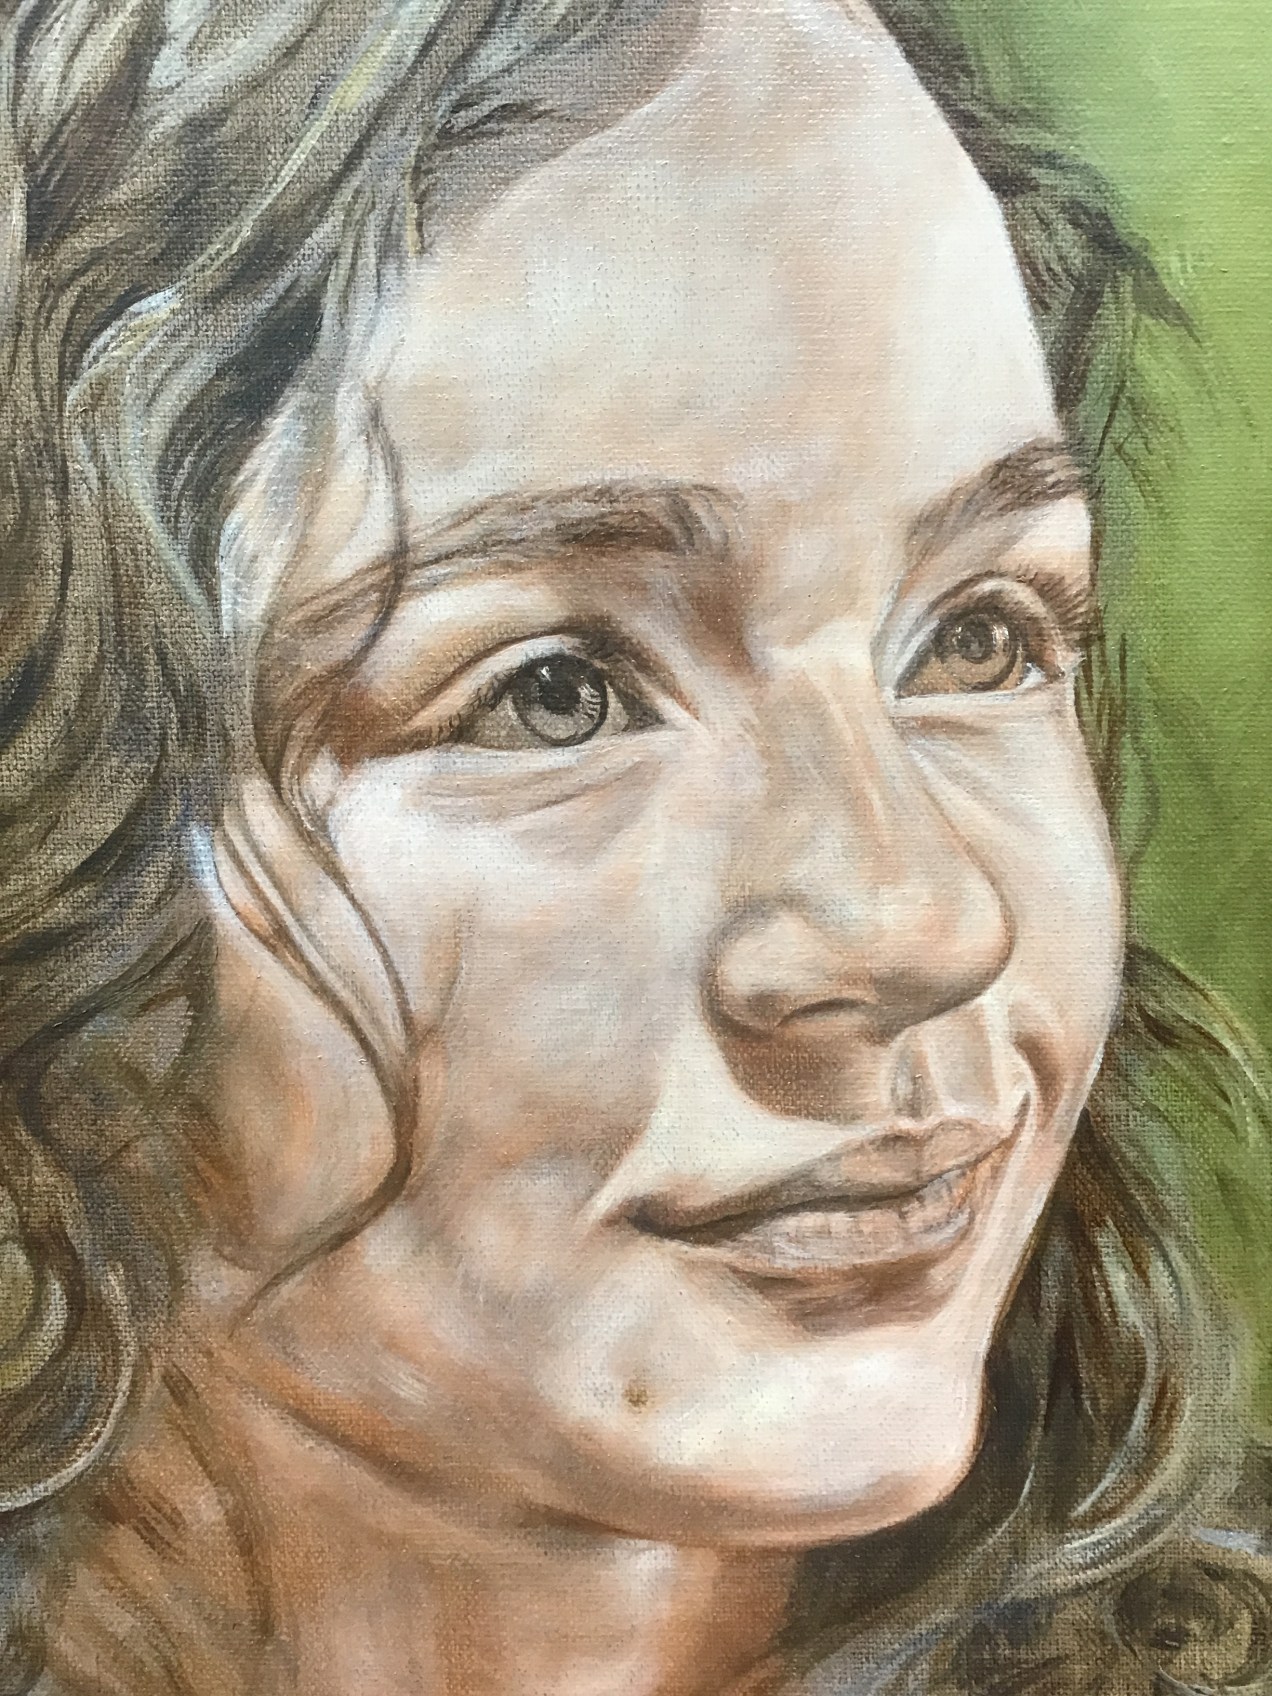
Somehow, a portrait artist must see the finished puzzle. He or she has the ability to recognize each piece and also when and where to place it. I can teach all the steps and what to watch for but the artist must have their own vision. This is probably why a group of artists can paint the same subject and they all are so different, because of the artist’s vision.
so here is the tiny piece of the puzzle for today. If I had enough energy, I would probably work from start to finish. My method is designed around my physical limitations, but I really don’t want to stop. I am thankful that I can succeed without working hours on end. I have never had difficulty picking up where I left off. I am truly grateful. See you soon, Diana

Standard
Blog

When things seem simple

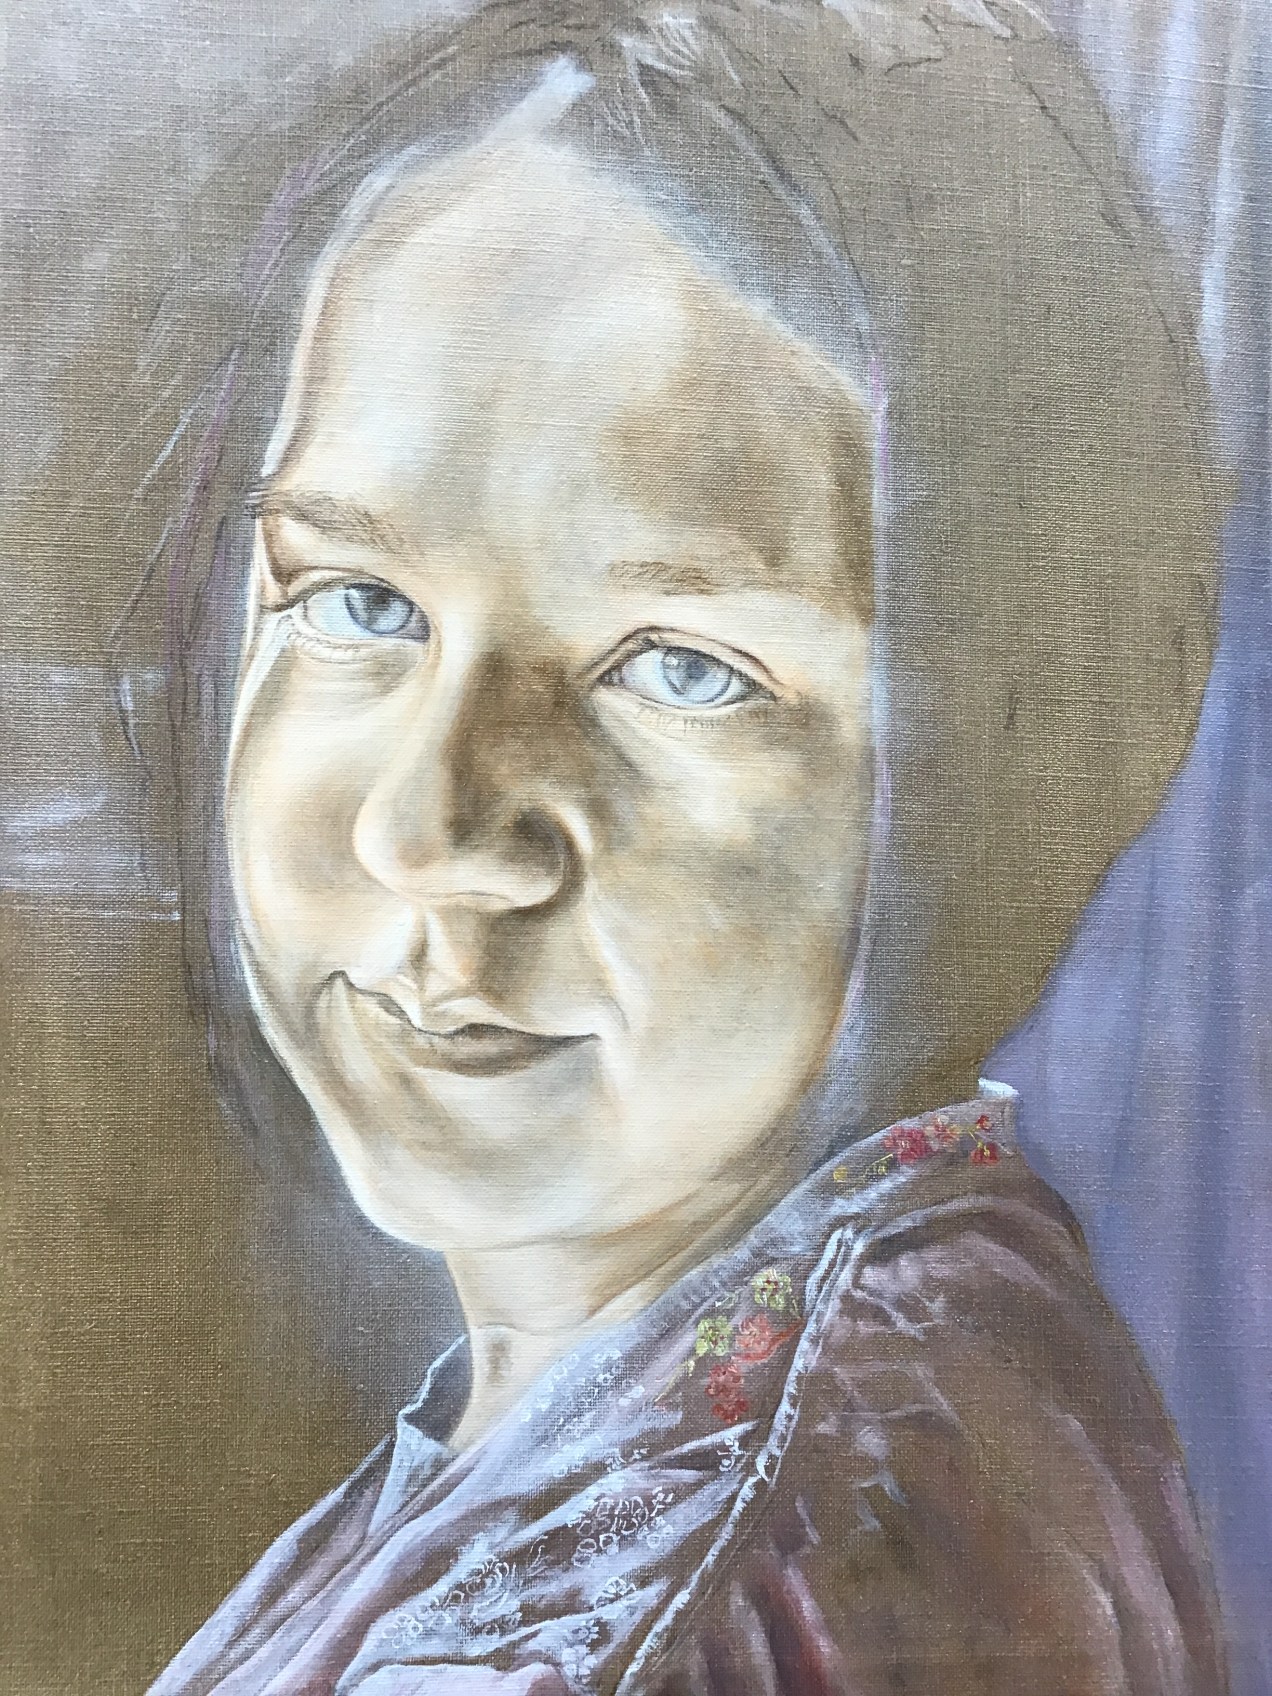
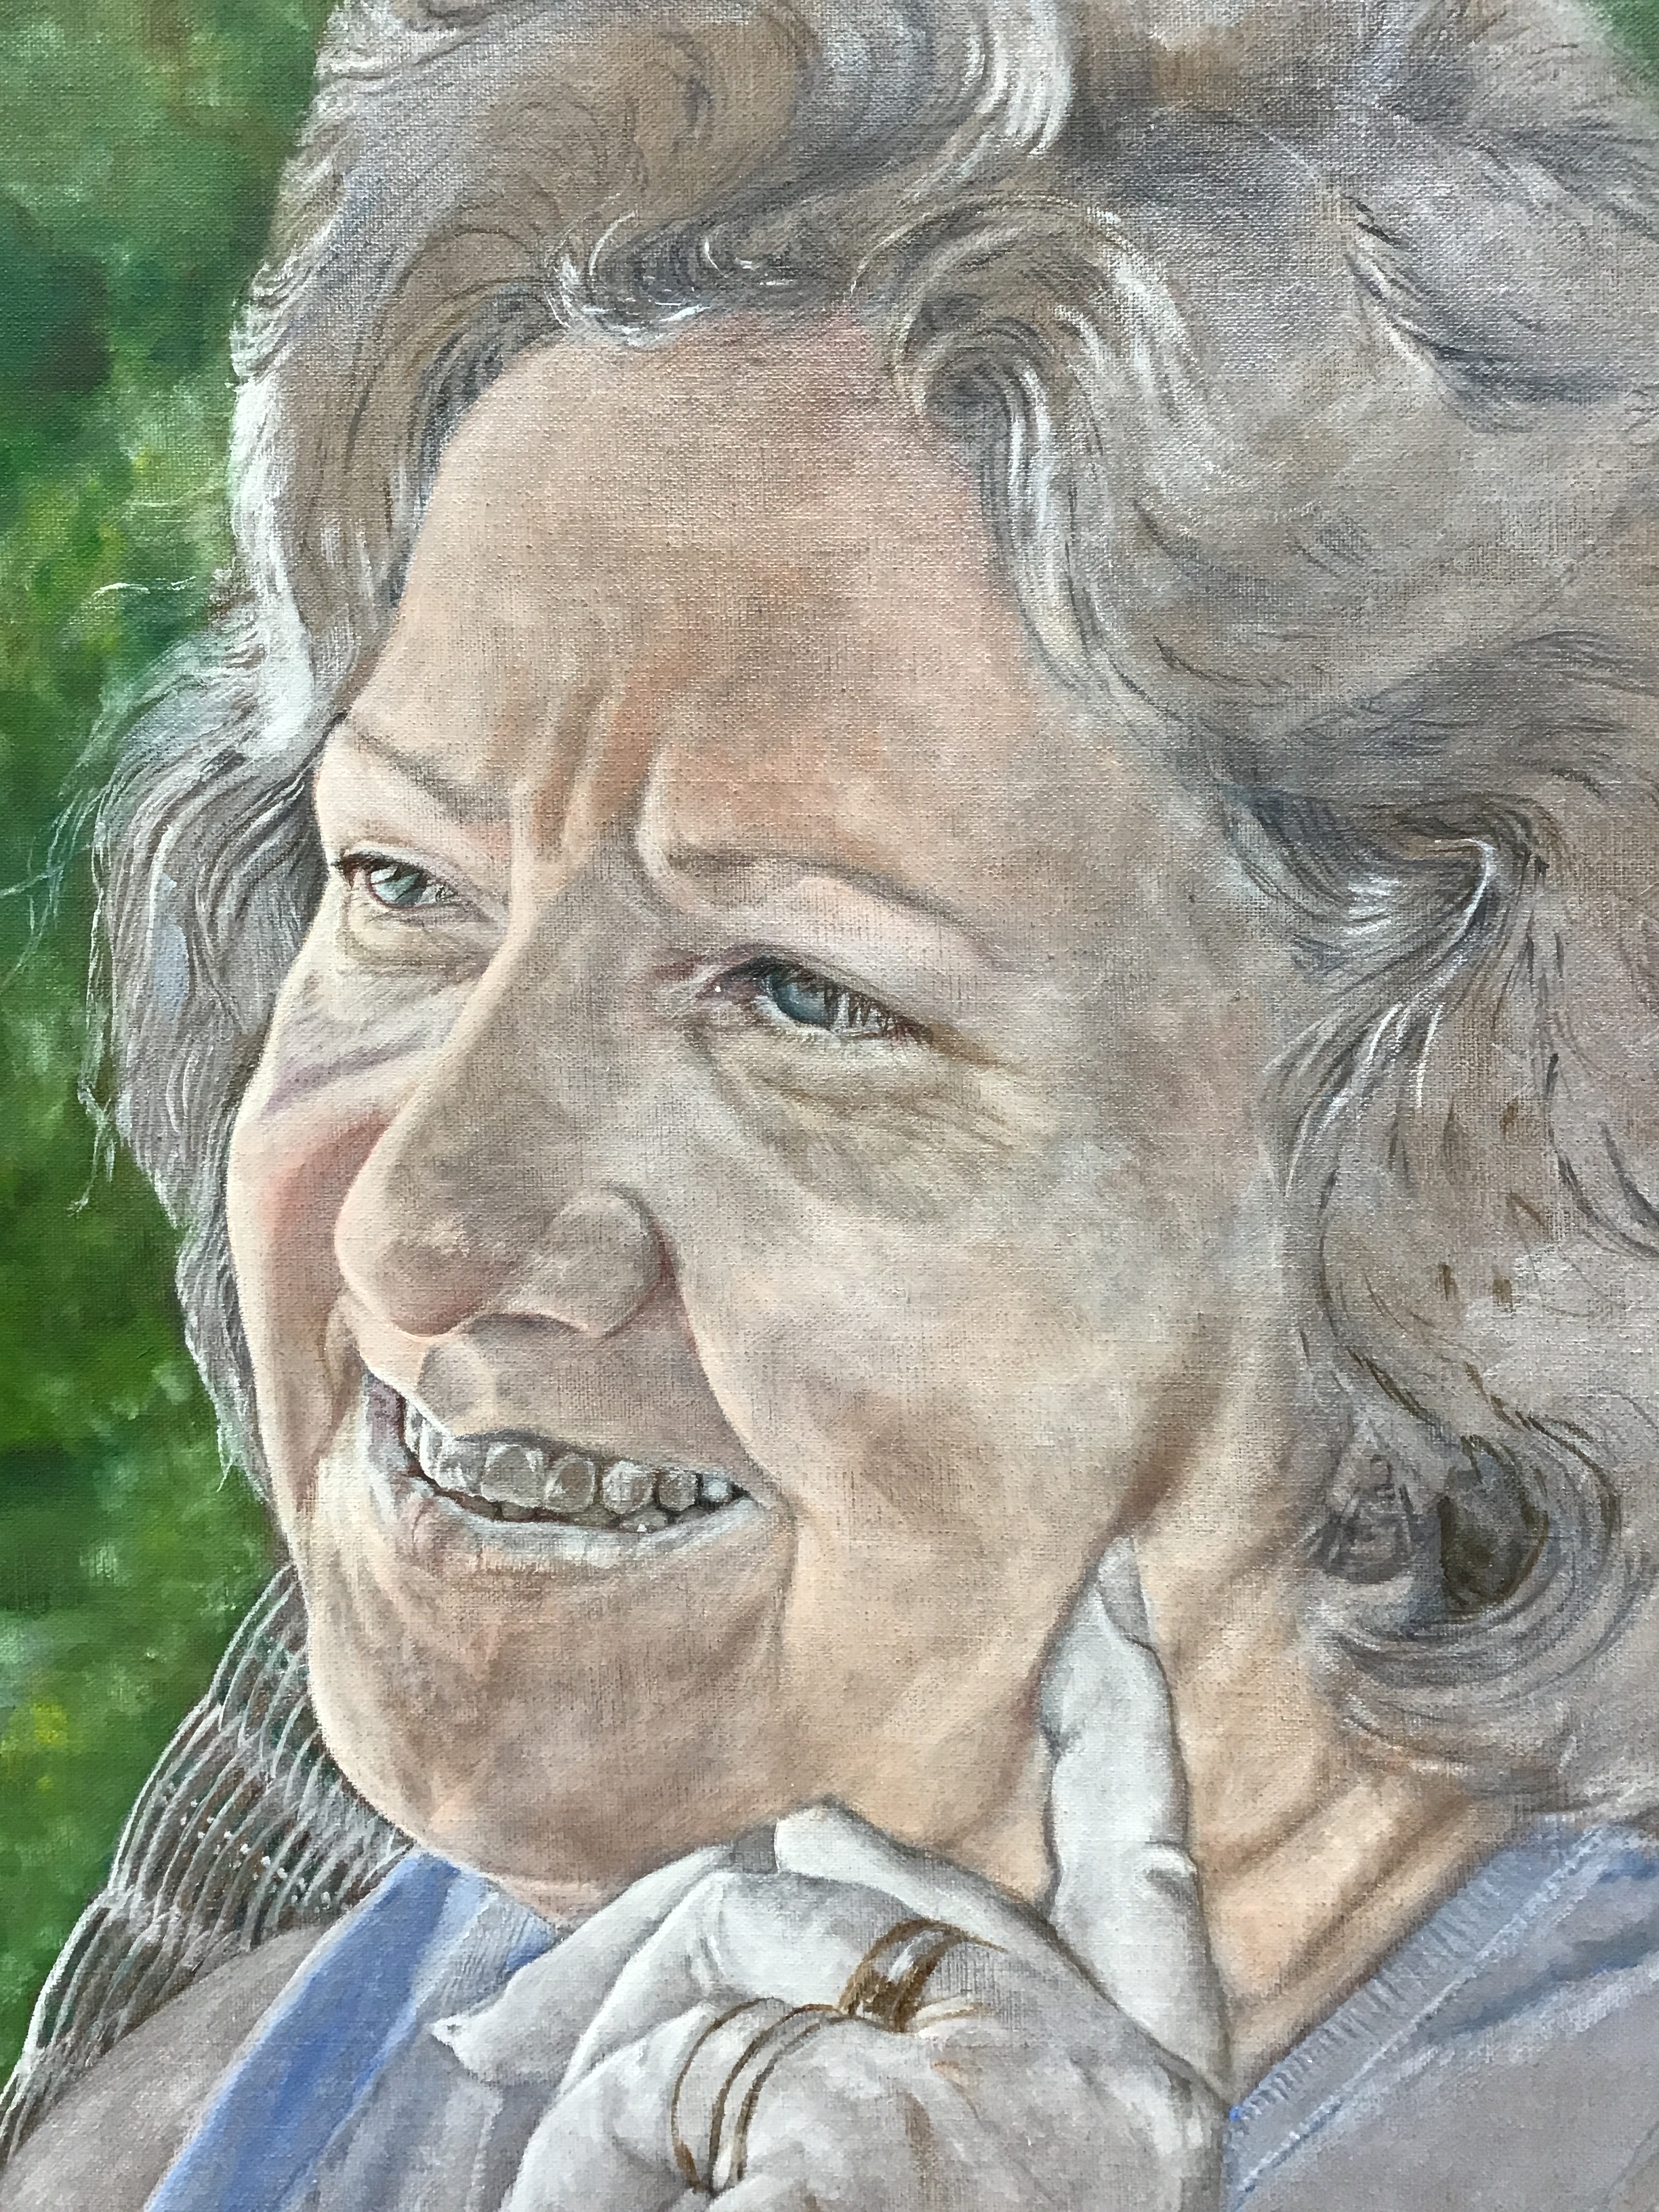
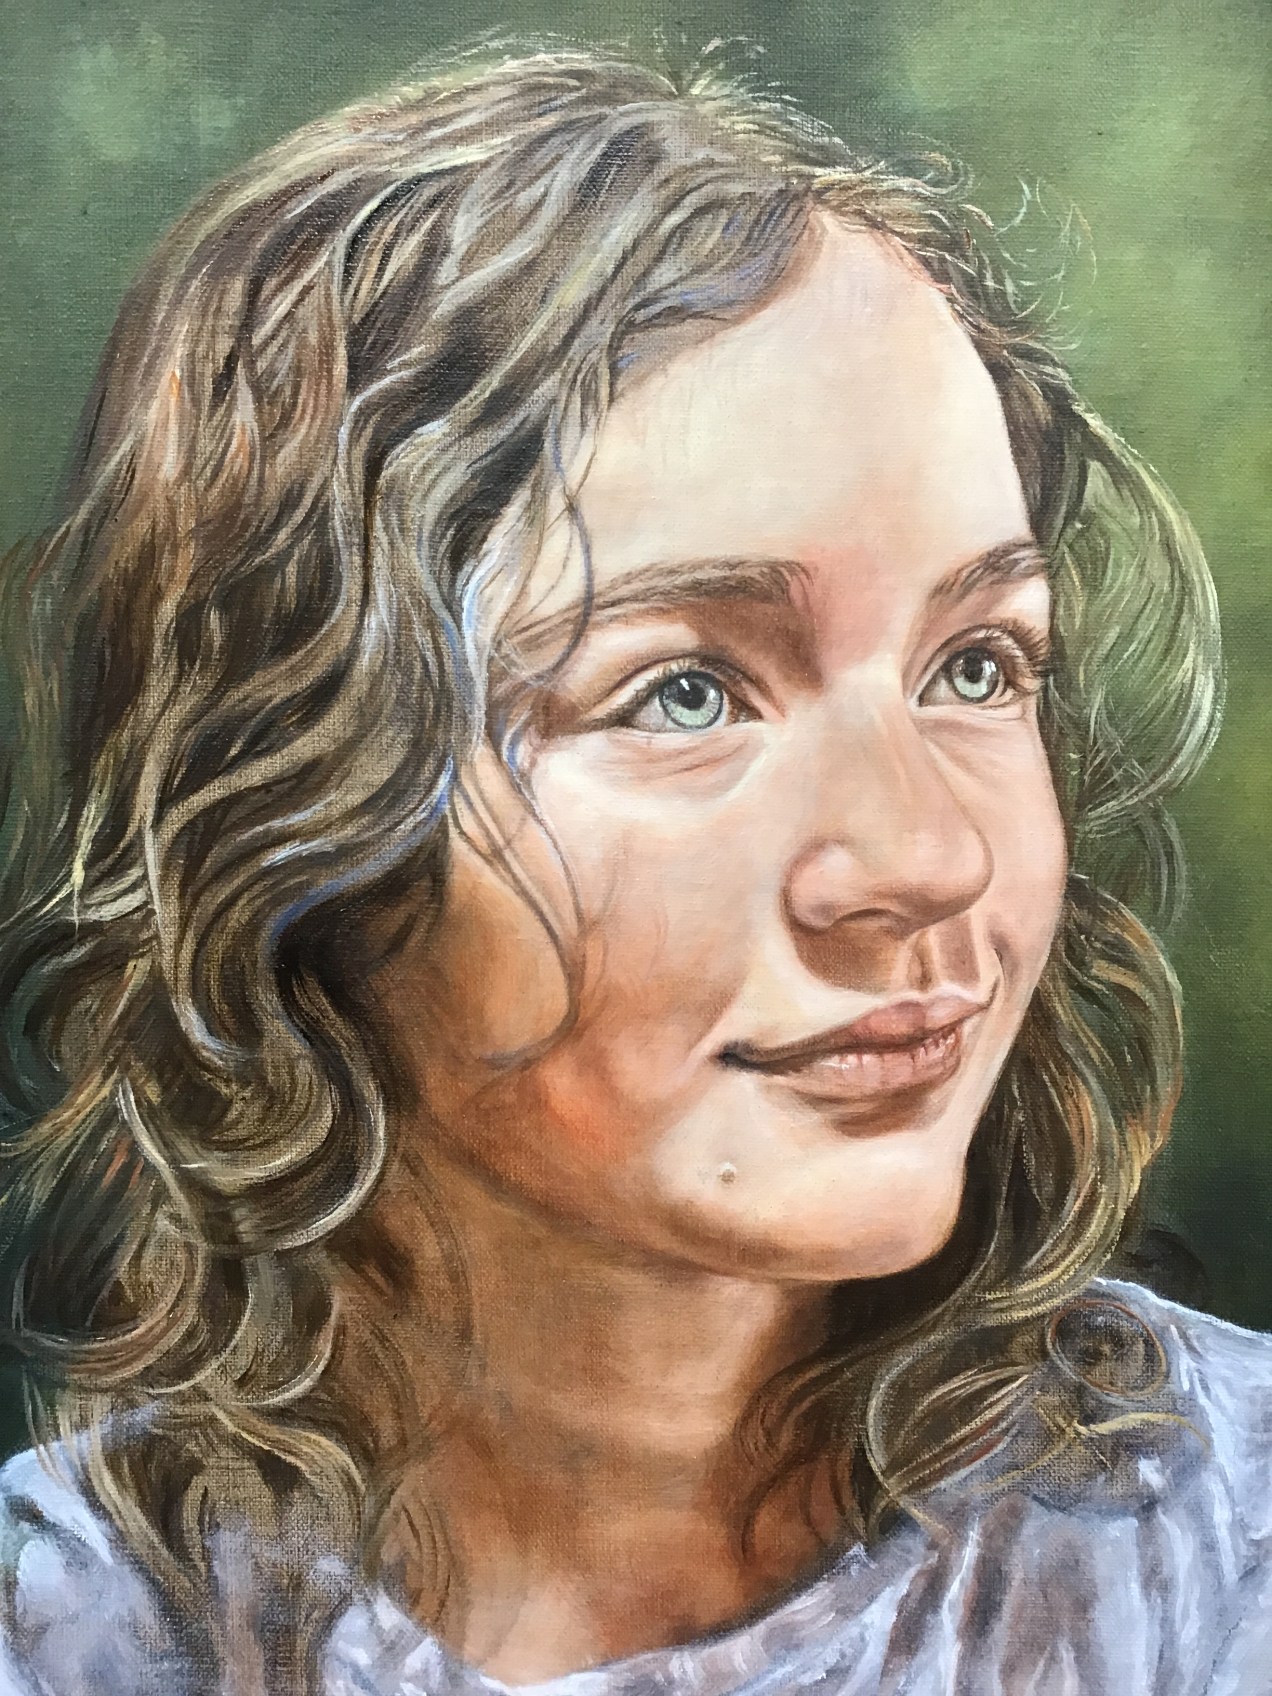
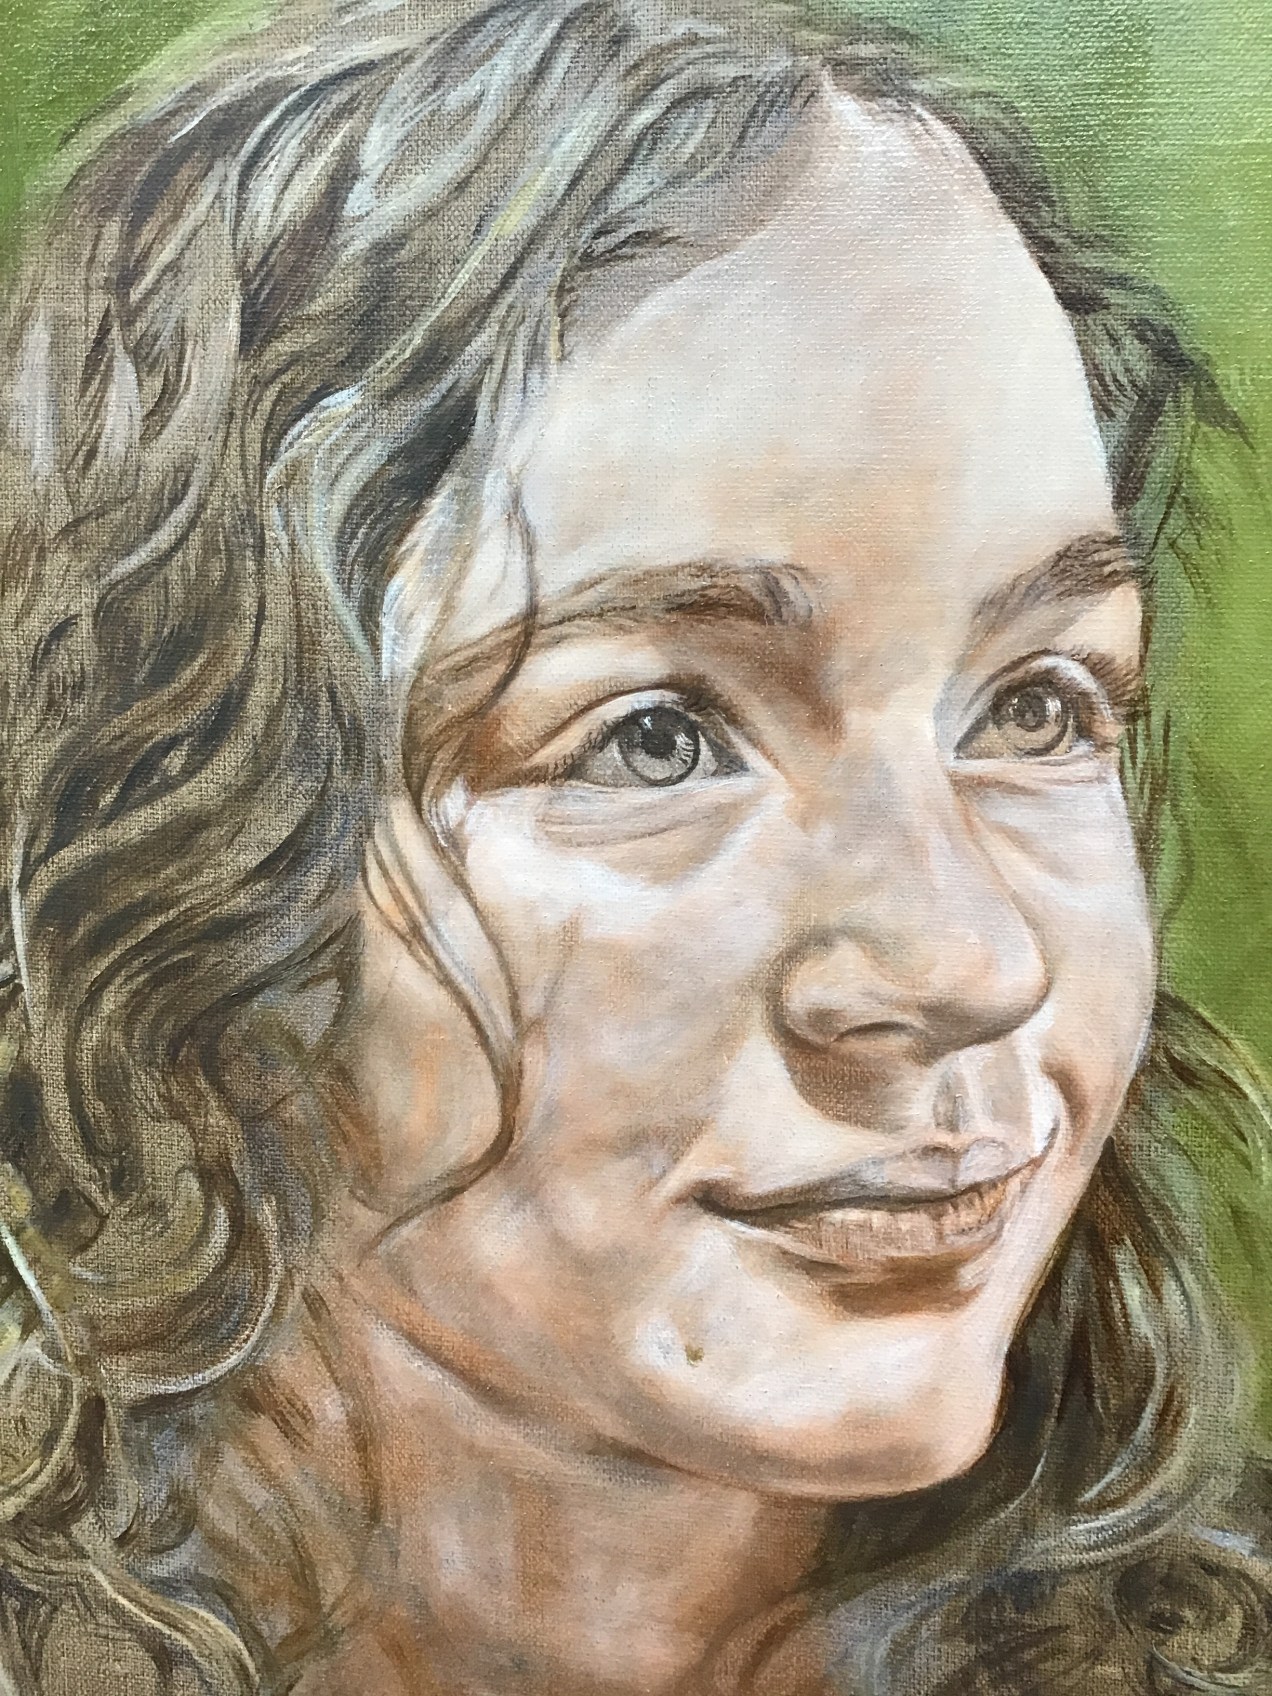
It often happens that when we expect something to be simple, that simplicity is so perfect that it is no longer simple to paint. This portrait is a magnificent example. Here, the gentle smile must be perfect, the soft light on the completion must not be handled carelessly and those eyes must not loose their allure. You may notice that the layers of flesh painting are in the stage which I term ‘blotchy’. I must discipline myself to control and not over paint each layer in order to build up the supple skin that draws viewers to my work.
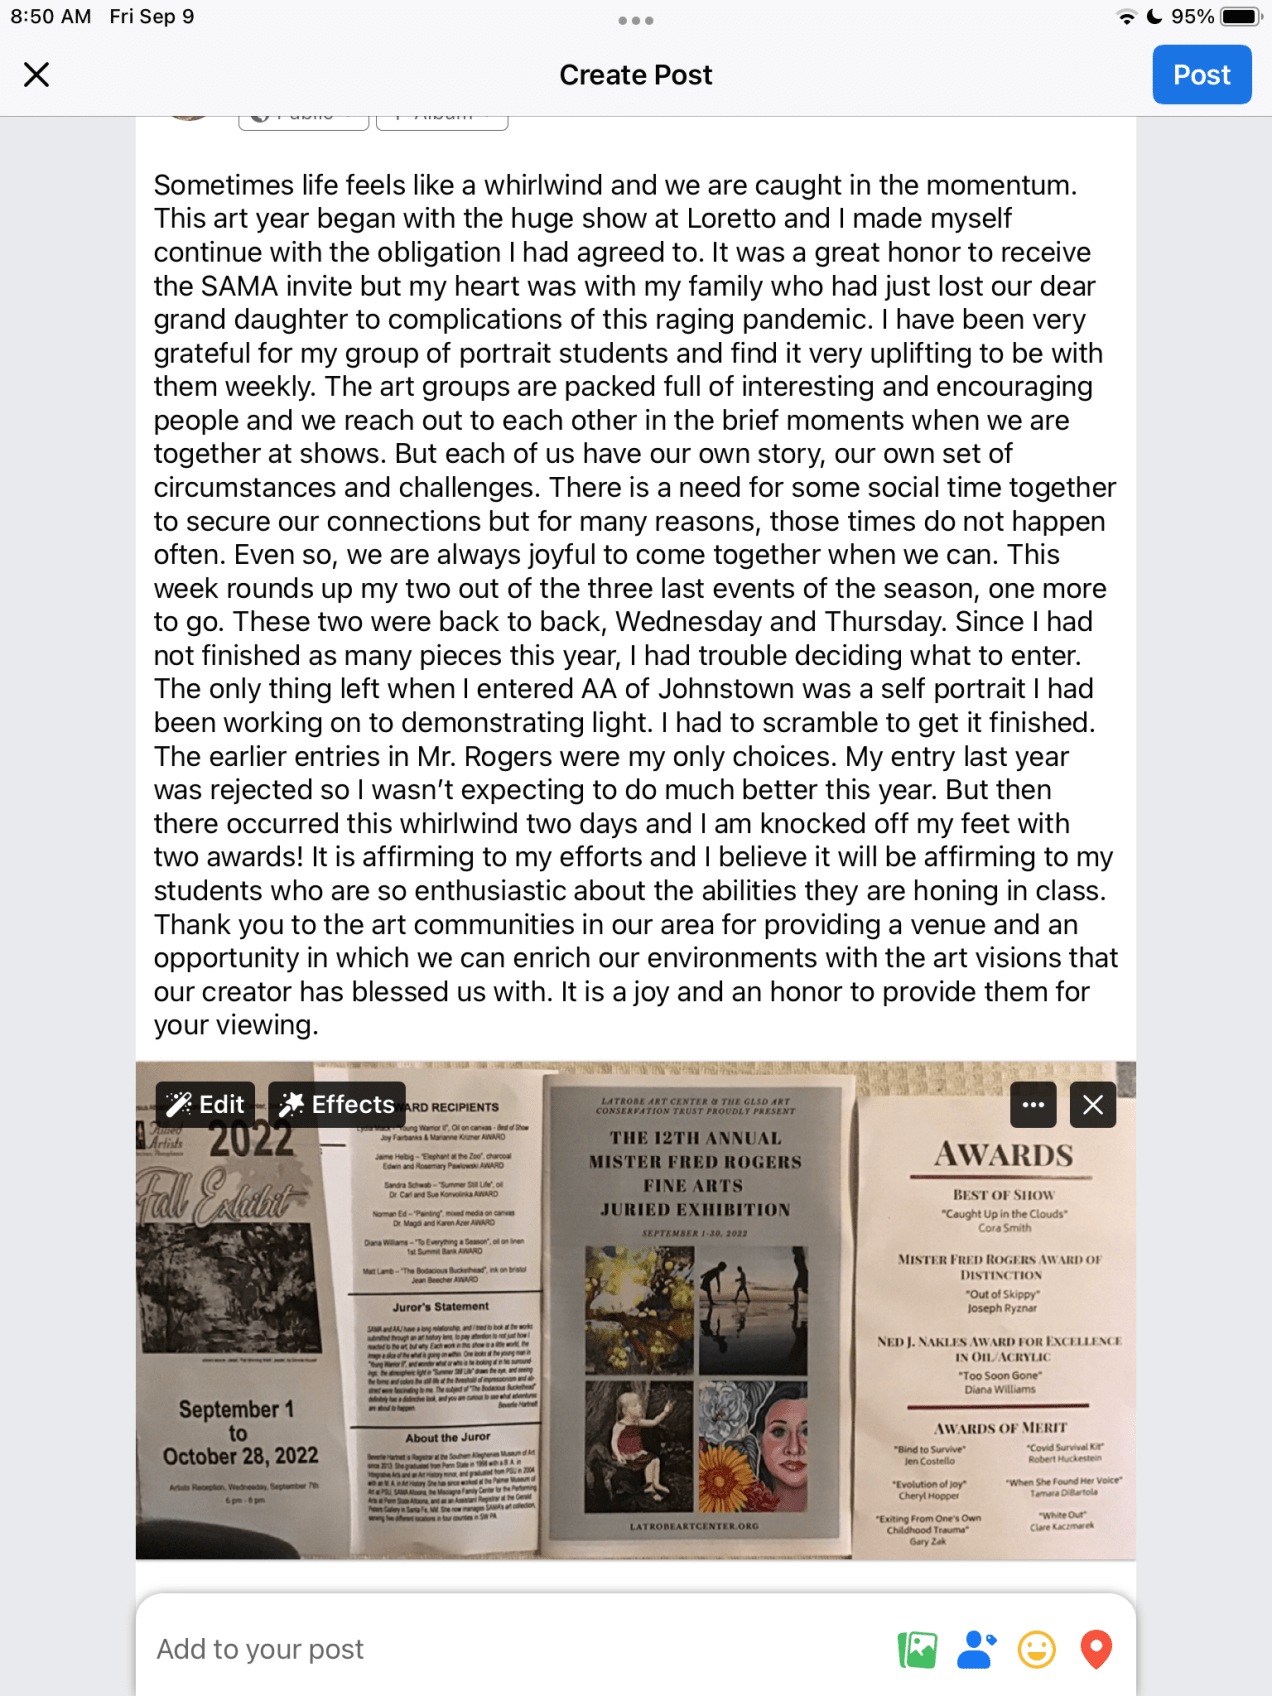
I want to thank all the many art lovers who attended last nights GALA at the Greater Latrobe High School. So many of you, generously gave me your encouragement and compliments for my entry, HANDS OF THE FUTURE. This piece was chosen one of five in the adult vote. It was not selected by the students. I would hope that someday, it might be my honor to receive this recognition. Thanks again to all who came to enjoy this fabulous event.

Standard
Blog

Halfpaste

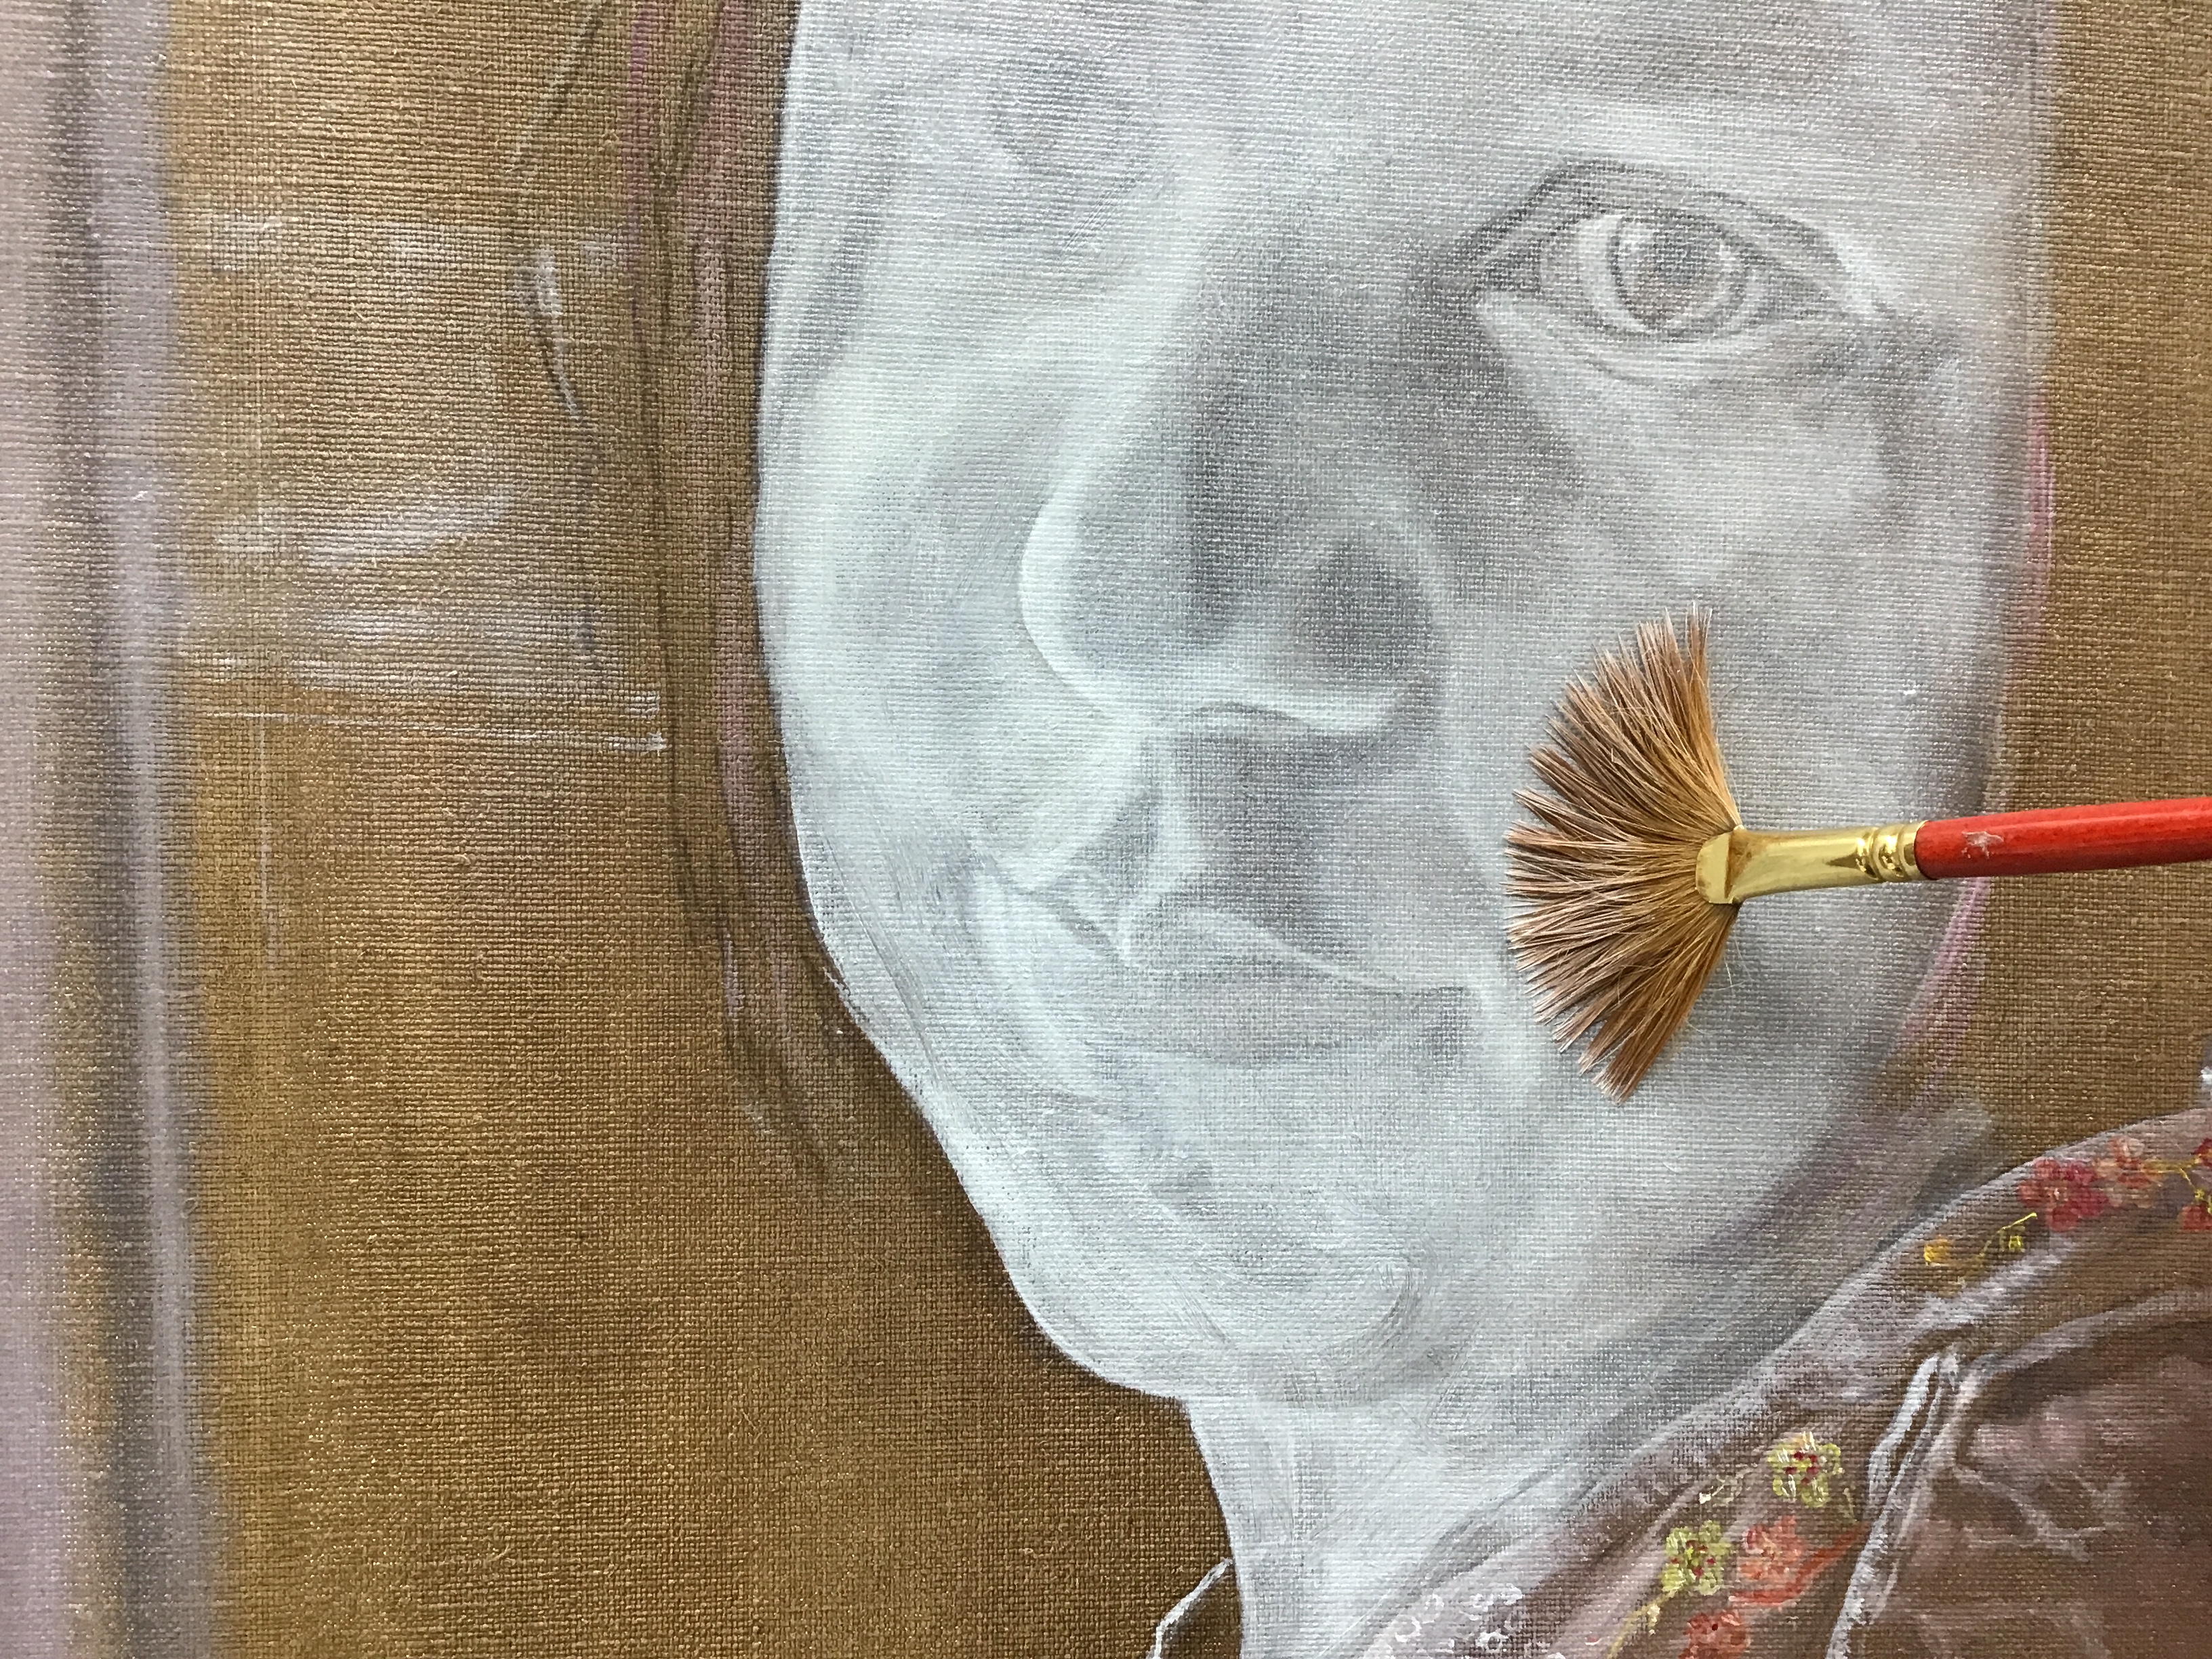
I have always used a transparentizer from Grumbacher called GEL. Of course, since all major industries are experiencing shortages, why should painting supplies be any different? The original GEL made colors transparent but had no effect on consistency of the paint or drying time. The replacement product may be different. You will need to experiment until you find a product that suits your requirements. For now, I still have some of the original product. In this photo, I mix Titanium white, Flake white and gel. The amount of gel is equal to the amount of the two whites. I apply enough to cover all flesh areas. Then I use an old brush to work it into the canvas pores so that it is well covered. Then I use a strong but soft fan to slowly pick up the excess paint, wiping the brush frequently on paper towels. The grasaille or monotone painting will emerge. Then, using a soft fan or mop brush, I buff this to a high sheen.if you are not experienced and confident, I suggest allowing this to dry before continuing to refine the features.

Standard
Blog

Refining the light

I just love this stage of a portrait. It is as though we have just been introduced to this person and we are eager to get to know her. I hope I sufficiently express how important a good pose, a good composition is. When the viewers see the painting for the first time, you want them to feel this eagerness to get to know her. People should be drawn to her, not to a painting of a sweet girl, they should want to know THIS girl. That all happens in the composition. If you get good light, that, too, will draw the viewers in. Happy painting.

Standard
Blog

Finally back to work

It has been a busy month or more. Some things good, like a great visit with my Florida cousins and several shows, two awards. A lot of time spent wrapping up the gardens and bringing in the orchids. And two trips to Ohio. I just finished class with my wonderful students so I need to go get dinner started. I am posting the sketch of Virginia. I’m not even sure if I got a photo of it in the raw transfer stage. I have done the darks and the brights only. I do apologize for having been out of touch for quite a while. I will try to post regulars as I go through this portrait. For now, shalom. I will get back as soon as I can, Diana

Standard
Blog

The most difficult

I have not posted for a while and I send my apologies. Sophia in blue was entered in the most recent show and i also had to decide if I could enter the Mr. rogers show in Latrobe. Sophia was not completed but in spite of that, the entry took second place. now our group is asking for entries for the fall show so I am making an effort to finish this self portrait. i had begun it to have a portrait with good light to use as a demo for my students. i do not like to paint with a time schedule. Now that I have a double commission, i will not try to keep up. Sorry, guys, it is just not conducive to good art work.

in this painting, i want to talk about the application of the layers os flesh. I will try to get several other photos posted. Study them and recognize this important fact; after you apply the transparent layer of flesh color and gel, then you must mold it as if you are carving in stone, using white or another choice of skin tone in order to use light to create the dimension. The most difficult thing to learn is developing the touch and finesse to have varying degrees of thickness in the application of this layer. Remember that even the dark areas of flesh must have ’skin’ on them and so if you miss an area, it will look as though it does not fit into the picture. Areas of flesh that are in deep shadow often look dirty. This is usually because the process of applying a whisper of white or skin tone has been missed.

I will try to get these other images attached. i will also try to label their order. Don’ forget that this is the group of layers that will always look blotchy until there is a build up. Painting in these layers is what produces the supple looking and vibrant, alive look to the portrait. stay well and good painting! Diana

Standard
Blog

Getting close

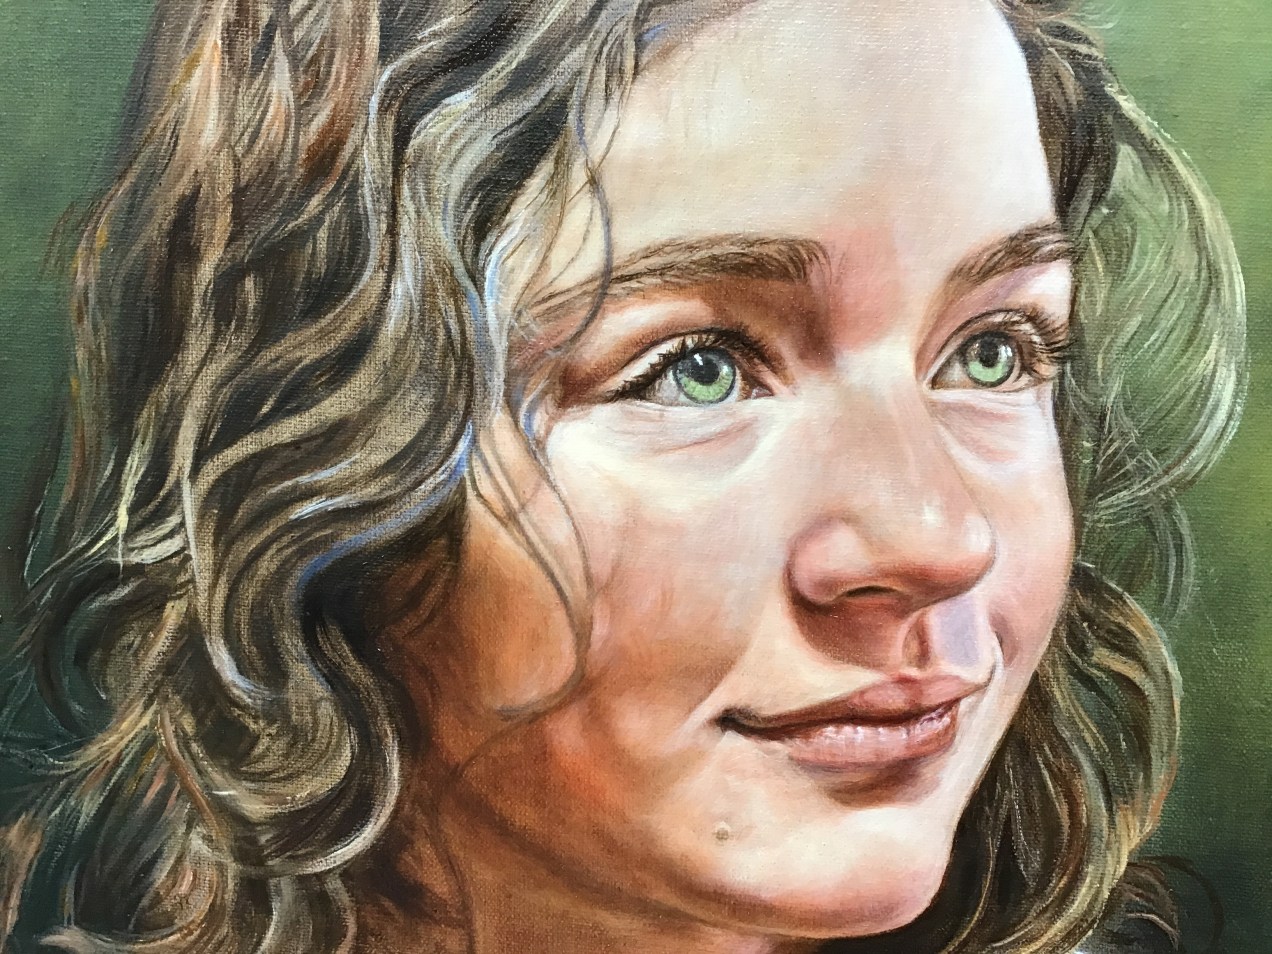
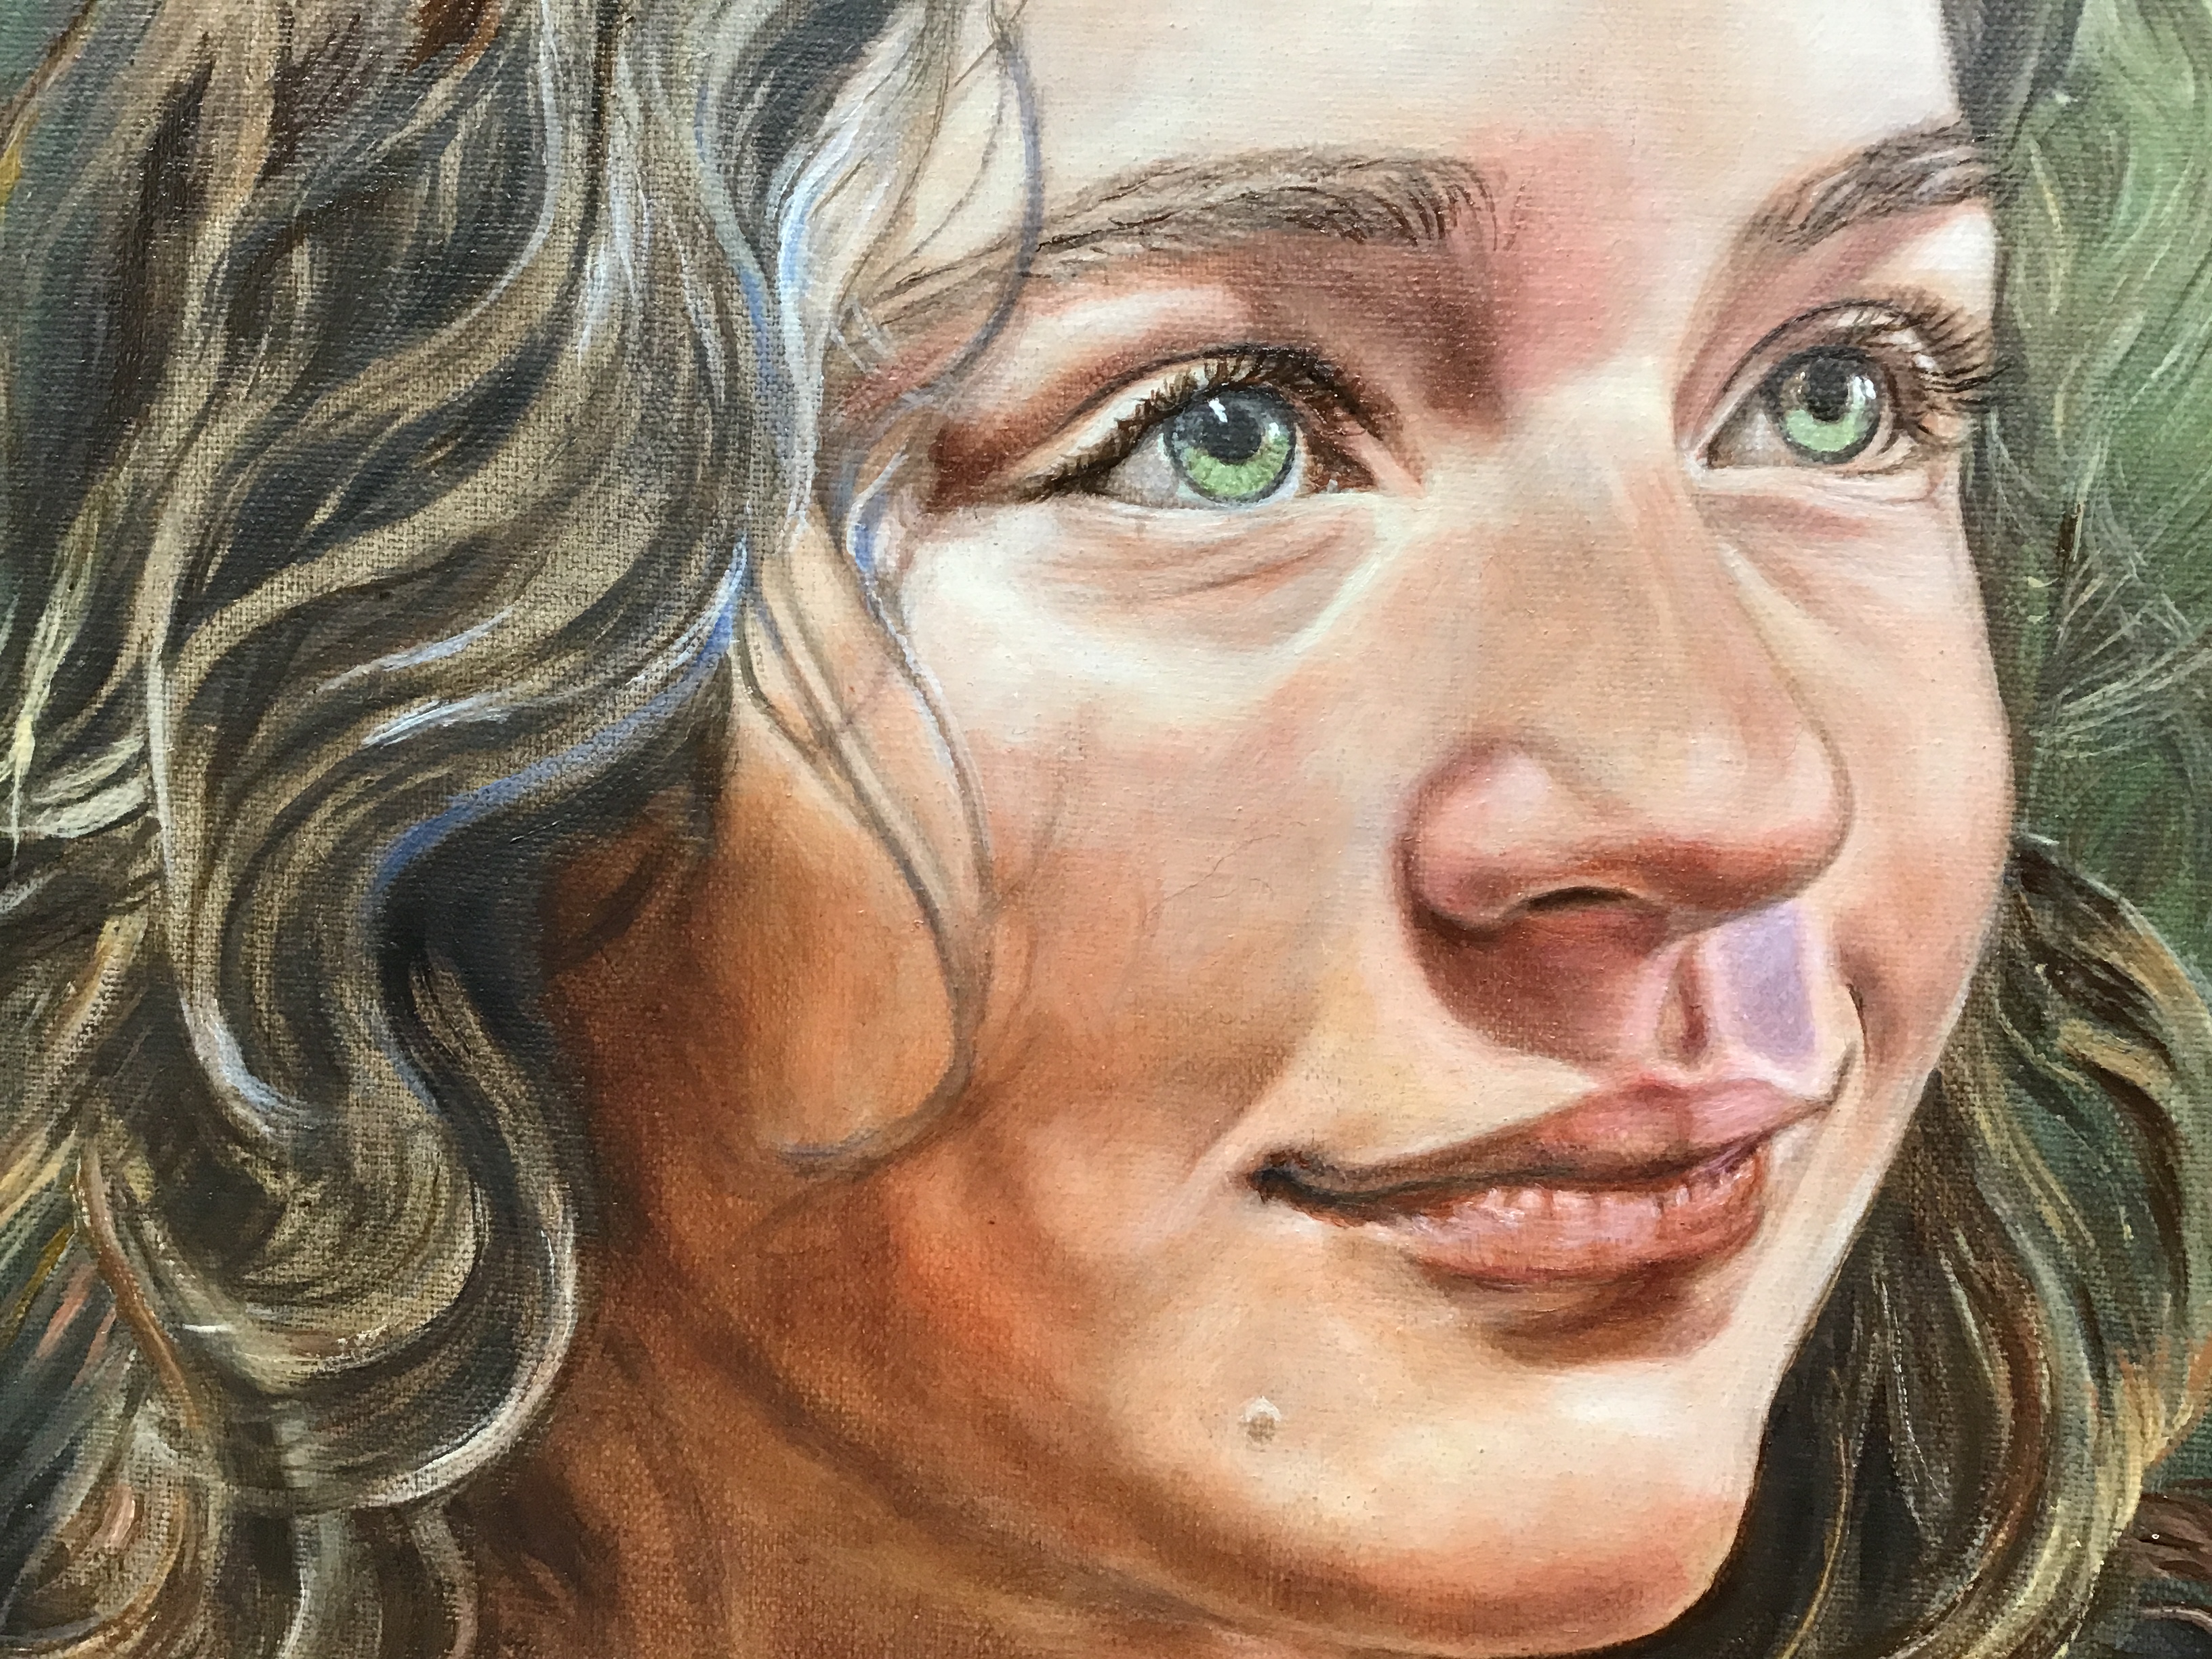
Today my work began with glazes on the face and lips. Next there was and still is detail needed on the hair. This grand daughter really wanted her blue hair included. There is always one more touch needed but at some point we call it finished. Not quite there yet.

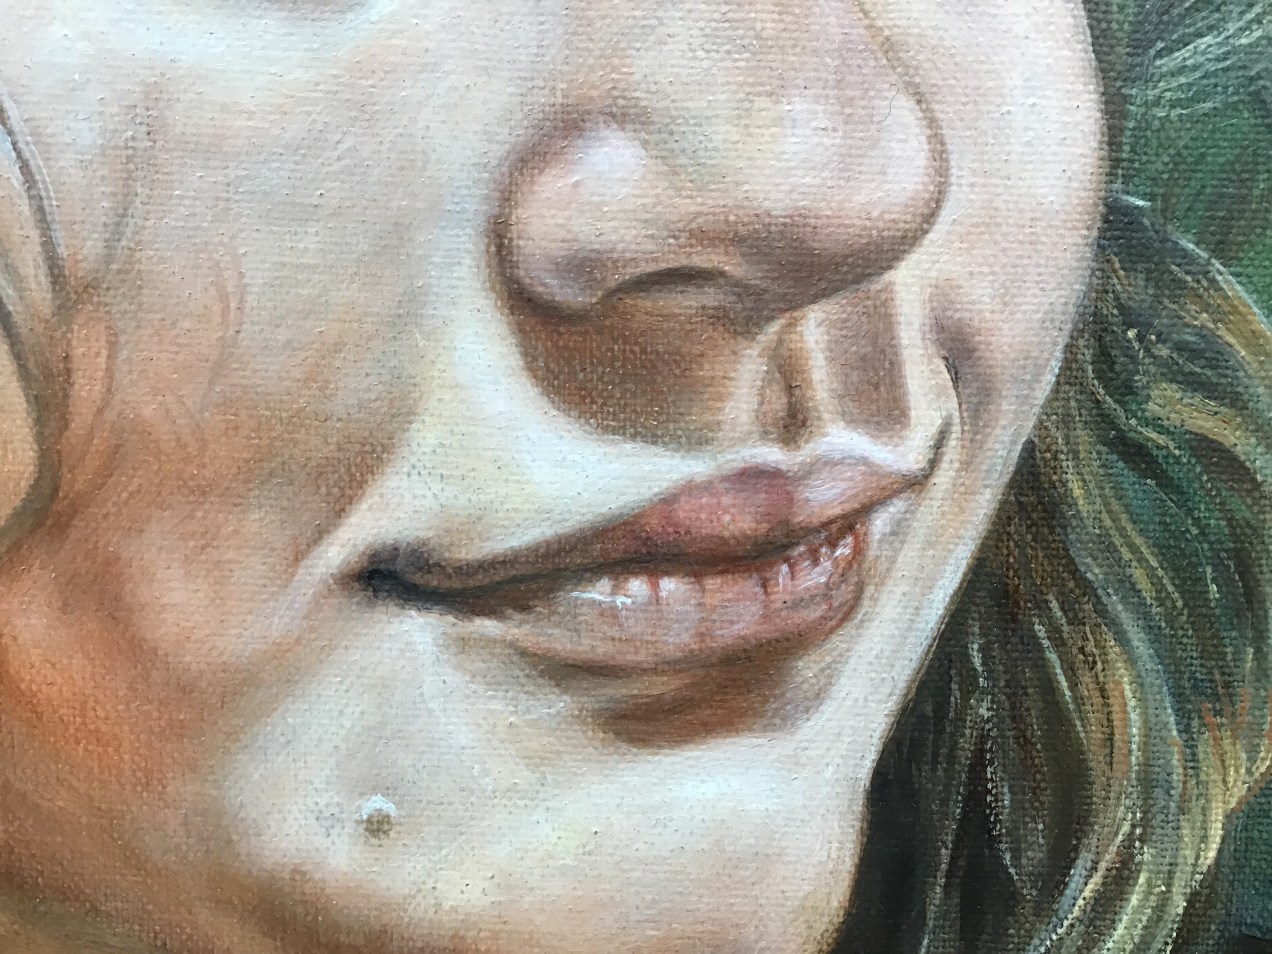
Take special note of the shadow under her nose. It is still violet but now it looks like it belongs there. I added a glaze of transparent flesh mixed with the violet and white, taking it into the lighter edges and over the darker left side, which made it look more like a natural flow of light. this is not easy. you must see what you are aiming for.

Standard
Blog

Yes, more detail

One reason I settled on this method of portrait painting is because it gives me the option of working on a large swath of the painting or on a tiny one, depending on how I feel and what time restraints the particular day is affording me. in the spring and early summer, if my pain level can tolerate it, i want to be out doors and in the garden. . All the while my portrait of the moment is calling me. Today, after my out door time, I chose to add a layer of depth to the flesh tone. Of course, I couldn’t just brush it on, no, it needed the finesse of brights, then I saw some darks where needed, then hair, then one thing after another. So it is eight in the evening and I still want to make a tiny correction. Well, what can I say. This is how it goes. I am grateful. hugs, Diana

Standard
Blog

Make a correction

The shadow is too dark. There needs to be more light in the shadow which makes it look a little violet. So, don’t let this revision scare you. I will try to post a second image at the end of this post. Sometimes I can, sometimes not. In the second image, i have added a lot of glazing to heighten the colors. Also, I have touched up details and put more color in the hair. The violet on that shadow will get toned down, but not on this pass. Hang in there. Changes are a little scary but you have to begin to move right into them.

Standard
Blog

Coming to life

No one can imagine what it is like to watch life evolve in a canvas with oils unless you have seen it happen. Also, when people see a portrait, they sometimes just see a person staring back. They don’t notice the art, the technique. once in a while, an artist or an especially perceptive and spiritual person will be stirred to the core by the light and life I strive for while painting. That happened today when a friend saw the collection of my work at Loretto. Her response and kindness took my breath away. She gave me a gift and I so appreciate her sentiments. This painting of my grand daughter is just now reaching this point. I can just about see her turn and speak to me. Hallelu Yah!!!

Standard
Blog

Hair

As I add these photos, one might think they are all the same. They are developing though and a portrait artist begins to have a sense of what comes next and also what must be done first. Try to remember those quizes in school where you had to arrange a group of photos or objects in the proper order.. So that is what we do here. If I am able to make this work, i will add another photo to give you a better visual. For now, i added more detail in the hair, the eyes and lashes. This image has a lot of life captured in the photo, It is my job to not lose it but to paint it so it is in there. Happy painting. ill post the other photo later.

Standard
Blog

Refining details

Today I applied a gel/flesh mixture and buffed to renew the painting surface and deepen the skin. After that, using a tiny filbert sable with a good point, I methodically went over a lot of the details. Students ask, ’what first?’ but that must be decided by the artist and sometimes dictated by what simply must come first. I would never paint the dark pupils and then go back to add the iris details. Yes, it could be done, but it seems to make sense that the dark pupil would go on last. I indicate where it should be by painting an under layer in an earlier step, but that last dark layer finalizes it all. I tell my students to let everything dry before that last mark so that it can be taken of easily if a mistake is made. When an artist is more confident, then they move ahead as they trust their decisions. I will still add more darks in the hair shadows and lift the brights of the flesh even more. At this point, my focus is on the likeness which can be a minute, tiny mark to bring perfection. Note the tiny hair shadows on forehead and cheek and the changes in the background color. Soon, I will play with the hair, which my granddaughter insists must be blue!!! This IS beginning to have that magic quality. If I allow it to dry over night, maybe the elves will come and make it even better😉 Diana

Standard
Blog

A Touch of Color

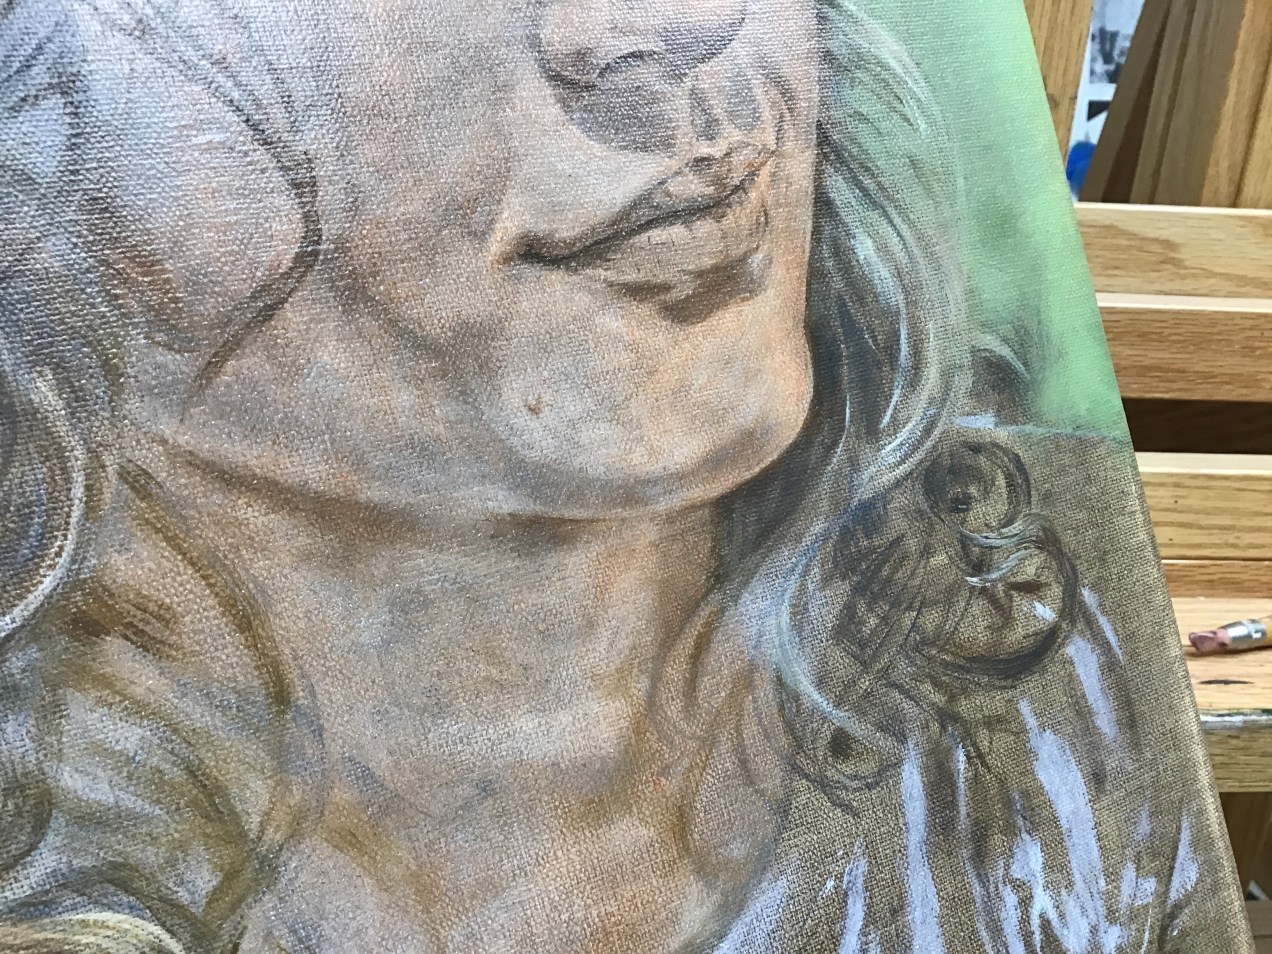
And always corrections. Here I layed down a layer of transparent flesh, then buffed. next I had two reds, one was winsor and the other a rosey hue to match her skin tone. i put these in the forehead, around the eyes and nose, on the cheeks and lips and some in the neck. I also mixed my neutral dark with flesh and a little of the red to darken the skin where her hair shades it. I changed the line of her jaw to take it up a little higher and i refined the eyes with this darkened flesh color. Next, using a soft sable brush I gently applied a whisper of white, (titanium, flake and naples yellow) to the areas where the flesh needed brightened and I was sure to delicately carry this bright over the entire surface of skin. I have seen studies that say white should not go into shadows but in this process, if you do not gently touch all skin, it will appear unfinished, as though the artist missed that spot. It should not look painted white but only a thin film as a thin layer of skin on the surface. For the flesh area, always buff, then allow to dry.

Standard
Blog

Believe it or not

Ok, my post disappeared. I will try again. These layers will, believe it or not, add up to a supple and beautiful flesh. After this dries, I will put in a few details, such as enhancing the shape of the flesh around the eyes and maybe a glaze of color to show thru the next flesh layer. Can you tell i moved the mole? Also, I put some dark flesh tone under the lip to enhance the fullness there. I have no more time. I must go. i hope you enjoy these layers. It goes better if you dont feel pressured to do too much at once. Hugs, Diana

Standard
Blog

A second flesh layer

Today I began by deepening and desaturating the background color. The colored egg green was too immature for this sophisticated portrait but i use a color for the under layer that will influence the final layer. This must be applied sometimes in an inconvenient timing but it needs to dry before the hair around the outer edge. Now i scrubbed in a transparent but still rich hue of flesh, layering more color in the deeper areas of flesh and less heavily in the lighter areas. Of course, this is buffed to a sheen before carefully painting in a mixture of titanium white, flake white and naples yellow. In this image, i have smoothed and then buffed the areas as I go, to maintain a level of control. Keep in mind, what we achieve in these early layers is not the finished product. The supple skin will be built as we go. Try to make sure that what you accomplish in a layer is correct to the best degree although not finished. Each layer after will add more correctness and more dimension. I will try to post another image when I finish today’s work. Diana

Standard
Blog

Beginning the flesh

This may feel like a difficult task. We must remember, it is a first layer. After you apply the flesh, mixed half and half with gel, be sure it is spread into the weave of the canvas evenly and then use a fan brush to buff it to a high gloss surface. Now you must decide if the brights are white, yellow, or some other shade. I often use Titanium, flake or lead white, Naples Yellow, or a blend of these,(for Caucasian skin color and sometimes even for darker skinned people.)Apply them by following the light patterns you see on the sitter or reference material. Place the paint with the best sable brush if you have it, or a synthetic. Make the first layer as accurate as you can, smoothing the paint with your soft brush. Then, with a very soft but firm or bouncy fan brush, buff this flesh. This is where you will answer your question, ’How much paint?’. You will learn from practice just how much to apply in each layer so that it can still receive a buffed surface. THE FIRST LAYERS OF FLESH ALWAYS LOOK BLOTCHY! In this method, each layer will enhance the suppleness and realistic look of the skin. Many students are content with two or three layers. Later they comment how real the skin on my portraits looks. This is achieved by multiple layers of transparent flesh. You will learn later to add the richer tones of the skin surface with transparent glazes. These colors may be introduced earlier but each painting sort of sets its own pace. Remember two things; continue to make whatever corrections are necessary and, two, ’if it doesn’t look right, it is just not finished!’. Enjoy spring. Diana

Standard
Blog

Did someone say ’easy’?

Yes, sometimes I feel frustrated! I love this whole process but when you put in the hours and only have a few hairs to show for it, even I feel overwhelmed. But then I step back and look at the overall progress! That is today’s lesson! Don’t forget to step back and congratulate yourself for making it this far! Don’t just see what you have in front of you. Look at what you have accomplished as a journey and envision where you are headed. I cant imagine painting a portrait if I could not see ahead. Maybe that is what makes the difference between who chooses to paint portraits and who does not. If you cannot see ahead, it could be difficult to continue this journey. I don’t believe that should stop you, though. There have been plenty of times when I did not know what would be my next step. If you get to one of these places, take the steps slowly and don’t allow yourself to blunder forward. Rest, think, pray, and try something. If you don’t go too far, you can always wipe off or paint over. The point, I suppose, is to enjoy the journey, the scenery and experience the lesson. I can see where I am going and I don’t want to hurry to get there. I sincerely hope you are learning something as you make each attempt on this artistic road. Don’t be hard on yourself. I will do the same. Diana

Standard
Blog

Quick post

I put another layer on the background and then reworked some hair placements, which added a little dark color. it seems like I have worked a long day with hardly anything to show for it. ”Mama said there’d be days like this !” Sorry, gotta run!

Standard
Blog

Today’s work

Sometimes only the artist can see forward to the final vision. This likeness just turned on for the viewer. i knew it was in there. It isn’t 100% guaranteed but when it shows up this early, an artist has a pretty good feeling. I didn’t have any more time today but I encourage my students to do less, then study, then go back to do another pass. Hugs, Diana

Standard
Blog

Do you want to capture likeness?

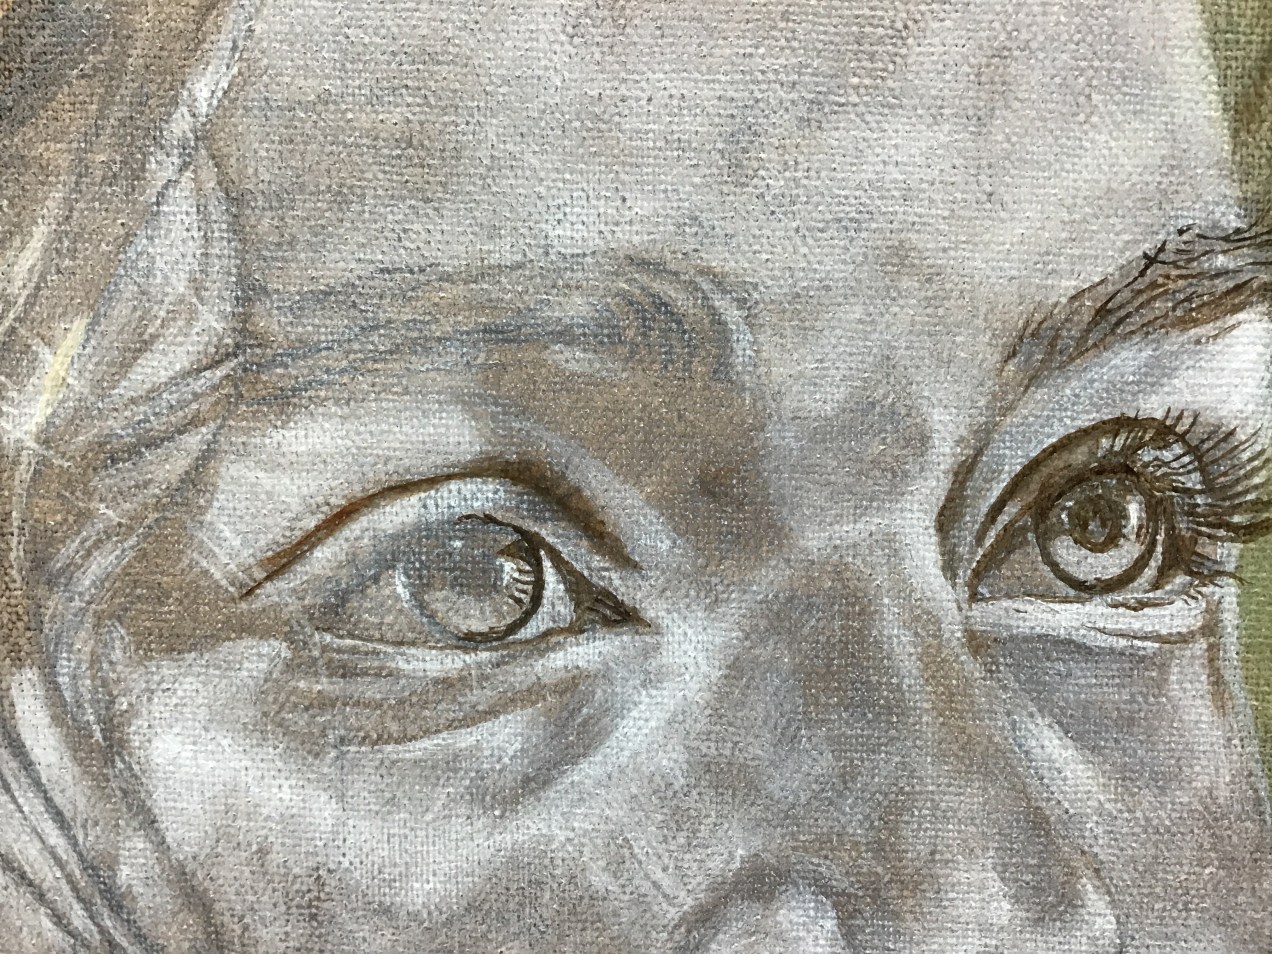
Pay attention to this if you do. What i mean by that is these steps are vital to implement and get right if you are trying to improve your ability to capture likeness and even spirit and mood and personality. Look closely. Remember that first we painted the structure or skeleton of the portrait, the planes and shadows. Then we marked the brights. After it all dried, we overlayed it all with ’skin’ -a half paste of white and Grumbacher gel. Now we begin to perfect the details. You will see the right eye has been refined with shadow and detail. Notice closely how the eye on the left is only partially refined. i took the photo now to help you see the difference. i am using a flesh colored paint with a little neutral dark in it. I am using a fine small round brush to mark hair and thin edges. When this dries, i will probably do a second layer of ’skin’ and then make more refinements. The more thin transparent layers we use, the more supple and real the skin will look. Have fun. Diana

Standard
Blog

Finesse

This is where the work takes finesse. The artist must train their eye to see patterns of light and shadow. It is one thing to be able to see them and another to be able to paint them accurately. Also, remember, it is a matter of the style and a question of the effect you wish to achieve. I am going for realism and an accurate likeness.

i am using the best sable brush I can get, soft with a good edge and point. The image I chose is unfinished in order to help you see the method of application. Of course you will have to study this still photo very carefully to notice the soft light in the shadows of the Eye lids and under the nose. Also you must understand that every layer will adjust this shadowing and light. If you don’t perfect it on the first pass, it will be refined as you go.

This may be the last post until after the holy days. Till then, Shalom. Diana

Standard
Uncategorized

A layer of skin

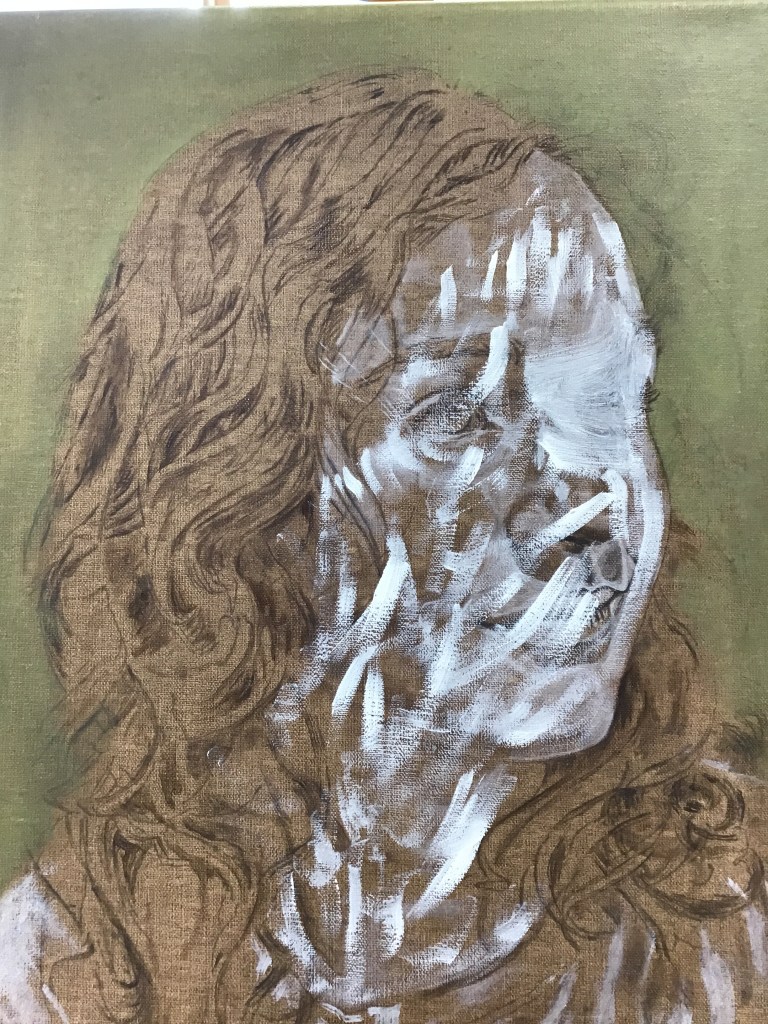
We have thus far created a three dimensional look by using the light and structure. We have achieved our likeness and are satisfied with the results. Even so, the painting so far is monochromatic and basic. The image is accurate but not realistic. in teaching myself how to paint a portrait, I came to understand that flesh and bones also need to be covered with skin. My painted figures did not take that step toward realism until I had gained this knowledge. In the first image i have randomly applied a mixture of titanium white, flake white and an equal amount of Grumbacher Gel. Then i use a soft old brush to work it into the weave of the canvas until the paint is evenly applied. if i am able to load the next photo, it will show how i have used a soft fan brush to smooth out the paint layer, removing all but a trace and then buffing with the brush until the surface has a sheen on it. This is the buffing process we will use between every layer when painting the flesh parts of the portraits. these two images are in reverse order but at least they are both here.

Standard
Blog

Just a little time to work

Well, I was not expecting to do any work on Sophia today because the features on her face should be thoroughly dry before the next step. As I studied everything on the canvas, (always an important thing since it helps the artist learn), i realized i could add some landmarks in the shirt and put a first coat on the background. The old masters studied drapery, folds and clothing for long periods as apprentices before they were allowed to move on with other painting. I approach fabric just as most other things; applying the light and shadows first. You can buff or use a tissue to blot so that you don’t leave too much paint on the surface. Think of this as a place marker or a map to help you lay out the patterns of wrinkles. I enjoy painting patterns, on fabric, hair, water, etc. Be warry of choosing a bright color for a background. Sophie’s skin tones are ivory and pink. I chose a neutral green for the background. I mixed cadmium yellow and phthalo blue which made a beautiful bright green, way too bright or intense. I softened it a little with white, still too bright! Now, try to remember this next part! The color, very pretty, was TOO INTENSE and it needed DESATURATED. I didn’t want the color changed. I only wanted the brightness brought down. So, I added some of my original dark. you could probably use black or gray. Don’t be surprised if at first it looks like mud. Spread it on, making it darker and lighter where needed. You will learn from practice how this desaturated color will look good without overpowering the image. we find our true difficulties arise from going to bright, dark or heavy on our first move. That is all for today. I hope these suggestions and instructions are helpful. Remember, you can always refer to them as needed. Hugs, Diana

Standard
Blog

First adjustments (corrections)

My students have heard me say, ”portrait painting is the art of correcting”. It just makes sense. if we have the hand and eye to get it right with the first mark, then we should do well from there. Most of us would not be doing this if we did not have the patience and the ability to see minute details. Making a good likeness is usually possible only when we are willing to constantly examine our reference for the tiny details that make us individuals.

Today, I first added tiny adjustments to the brights. They are so small, I doubt you will be able to find them. Next, using the same dark, i marked ONLY the main shapes and deep darks spots of the hair patterns. The marks should not be bold. Even though the color is the same dark that I used for the undercoat, I stress that the marks should be transparent. This is done by the pressure used, not so much the amount of paint or intensity of color. This turns out to be important as we go on to other steps, mostly because we don’t want to fight the dark paint when adding color. Forgive me if I repeat instructions. Learning portraits can be complicated and it is good to be reminded. Also be prepared to adapt and do things in different ways. We must make these decisions based on each situation and every variable involved. I do hope these examples are useful for you. Hugs, Diana

Standard
Blog

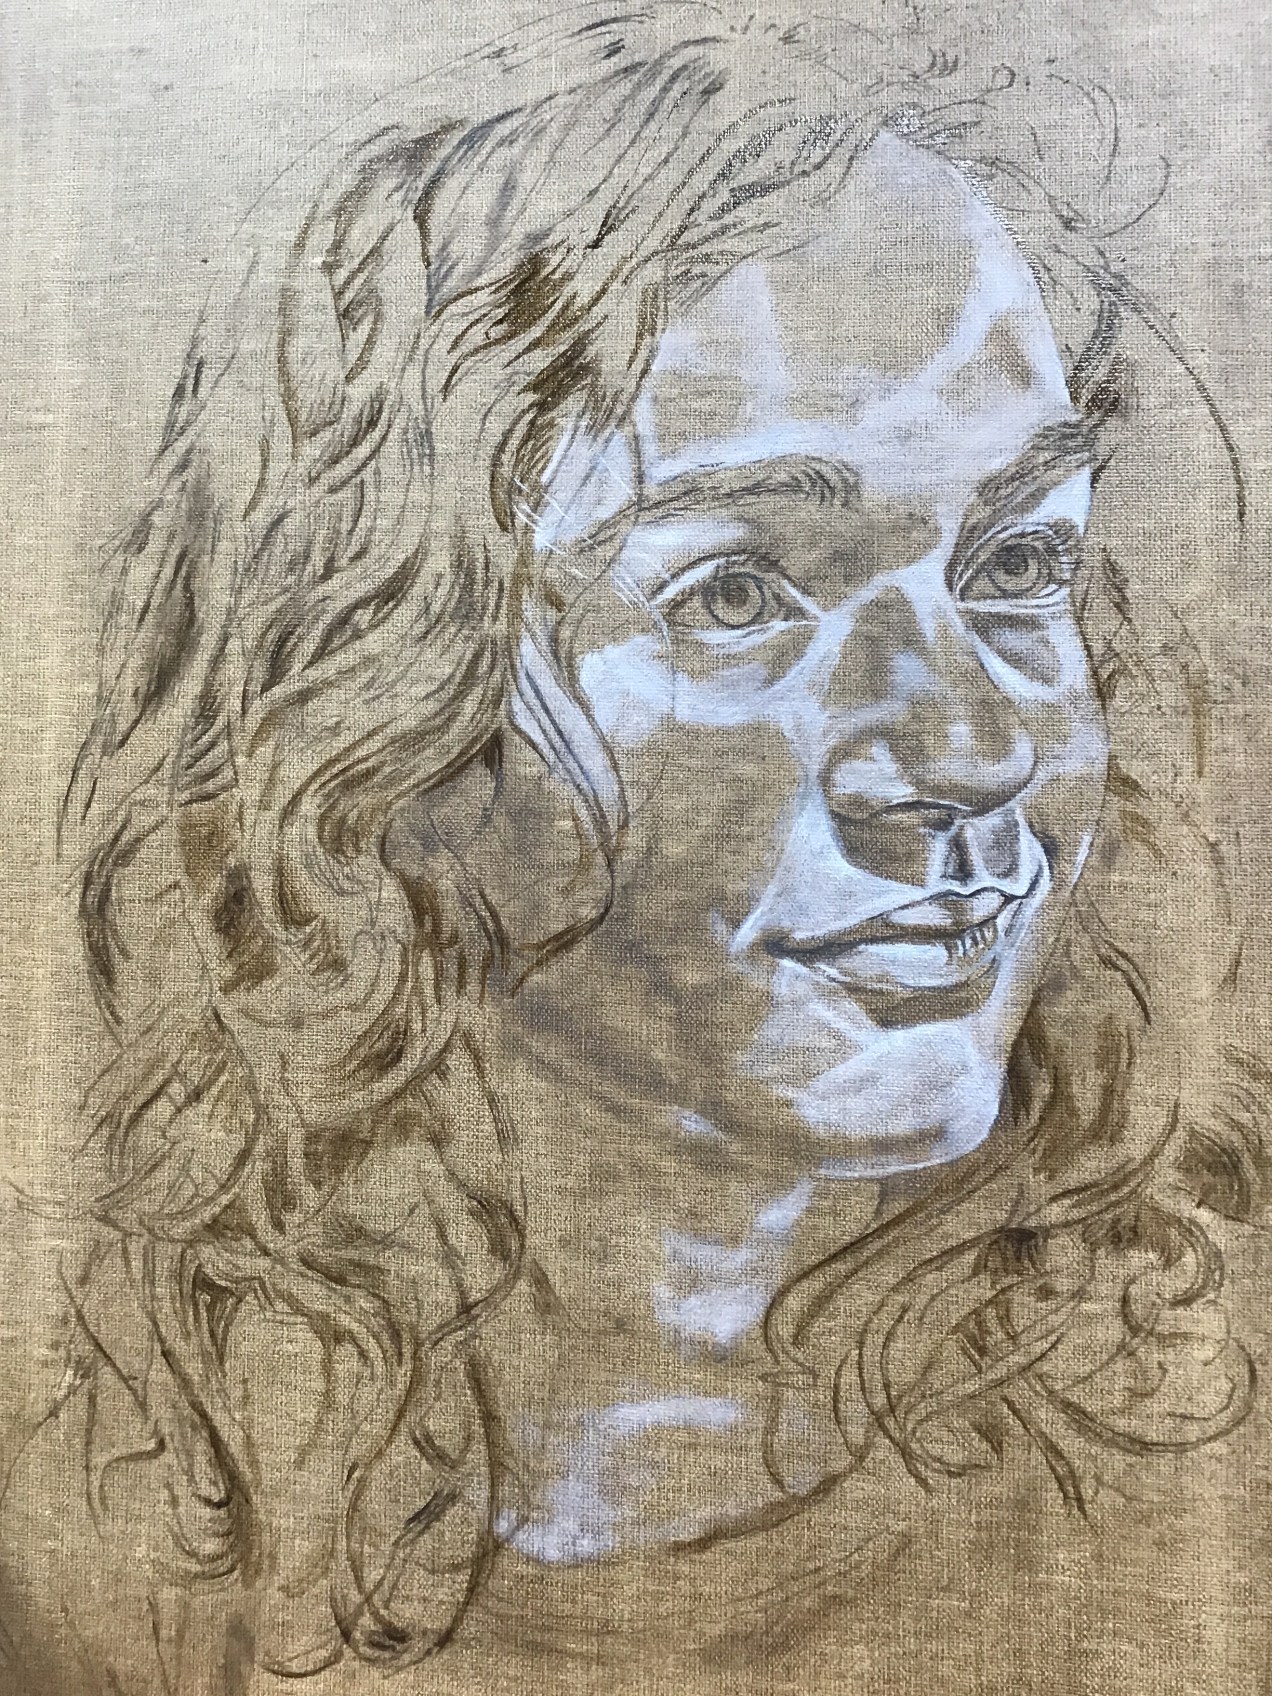
Brights

Every step is important, yes, but with a portrait, it is vital to capture a likeness. So, the artist must learn that the features are emphasized by the effect of light on the shapes of bones and muscles in our face. first we transfer the drawing, then we use the same transparent but dark paint to soften those lines and emphasize both shadowed areas and also certain features like folds, creases and deep places. Always buff, which is done using a soft fan brush lightly feathering over the top of the wet paint in order to remove brush marks and prepare the surface for the next layer. There are other methods of portrait painting and you must decide for yourself which you like best. i have found this one gives a realistic and pleasing finish to the portrait. As you refer to these posts, teach yourself to study closely. On this image, it may seem as though the entire face is beginning to look painted. if you study closely, you will see that it is simply and sparingly painted, first with the darks and now, minimally with the brights. please understand that the more precise you are in this stage, the less difficulty you will have as you proceed. it would be possible to begin the background at this time or work on the clothing, or even some of the hair marks. But, since i am attempting to teach you precision and method, I am encouraging you to not move ahead too fast, rather engrain in your mind the WAY to proceed so as not to end up frustrated and overwhelmed with a feeling of being lost, so to speak. Later, after you are more sure of the process, then you will have the confidence to overlap the steps and work at your own speed. You all have expressed the desire to improve your skills. Every thing I apply in my work was learned from observation, thought and practice. Discipline your artistic process and incorporate your own ideas into other projects. Keep the learning process in a separate compartment of your brain at least until you are finished with the project you have begun, that is, understanding this particular process. see you at the next step. Diana

Standard