
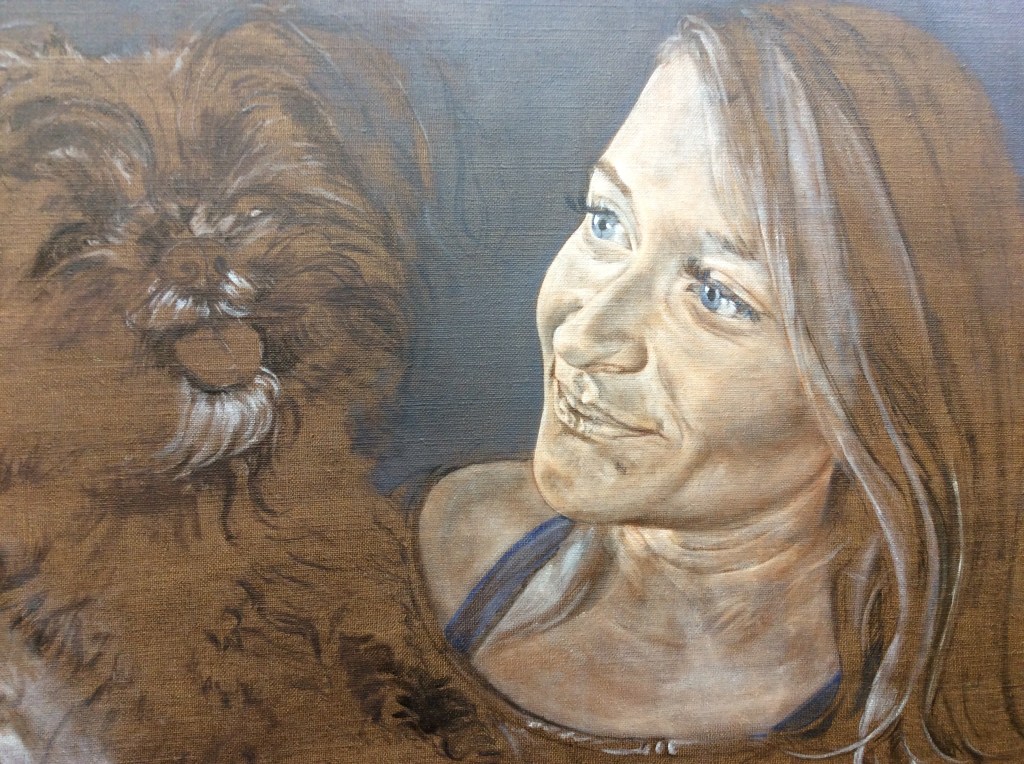
Now that the likeness is more established, I will begin to add darks to bring out some of the details such as wrinkles in fabric, deep bends in body, for instance elbow and fingers, and I will plot all the darks of the hair and the pup’s fur.
Take notice that I have not painted in the eye lashes with thick dark paint. Later when the portrait is almost complete, I will use a transparent dark for the lashes. I always recommend using a transparent dark even for very dark lashes. It just helps make them seem more natural.
People often ask how soon till the portrait is finished? It would take a very long time to list all the work that must still be completed. No one gets it. A puzzle can only be put together one piece at a time and a portrait is sort of like that. Today, I can only put in the next piece or two. How can I ever let you peek into my artistic mind and let you see what must still happen. If I sew a dress, I can show you the pattern, the fabric and explain the steps of putting it together. It is similar with a house or a piece of furniture. But how can a sculptor tell you how to find a body inside the stone? I might be able to tell you the basic steps to a portrait but never explain the finesse necessary to make it a masterpiece!
