


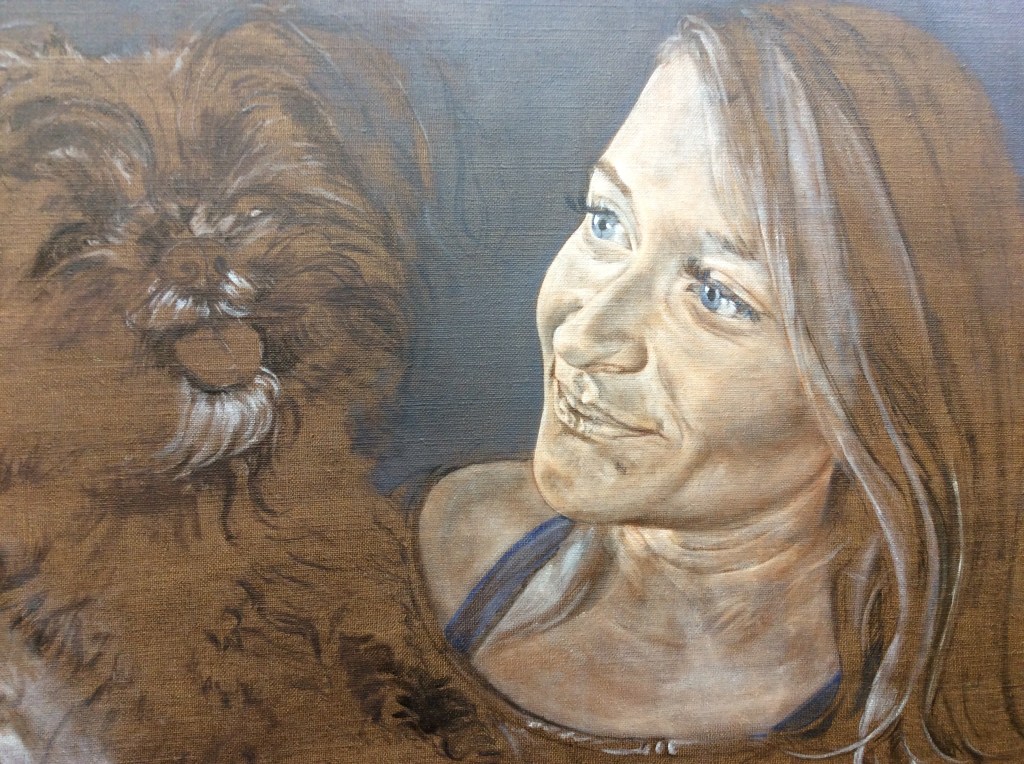
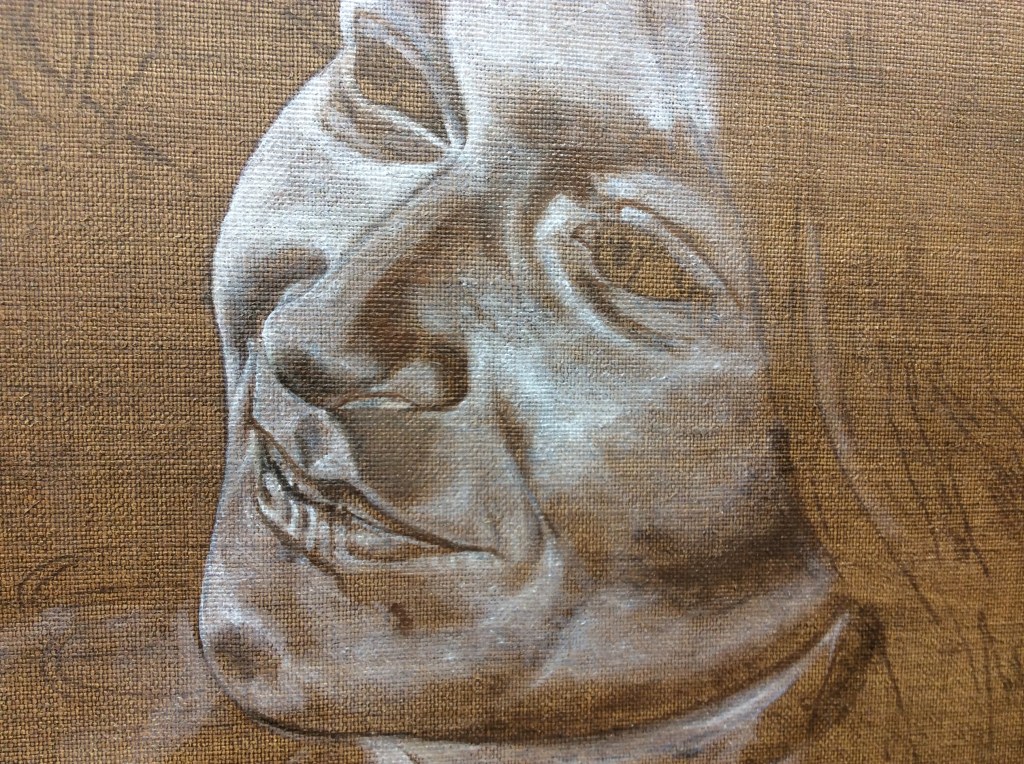
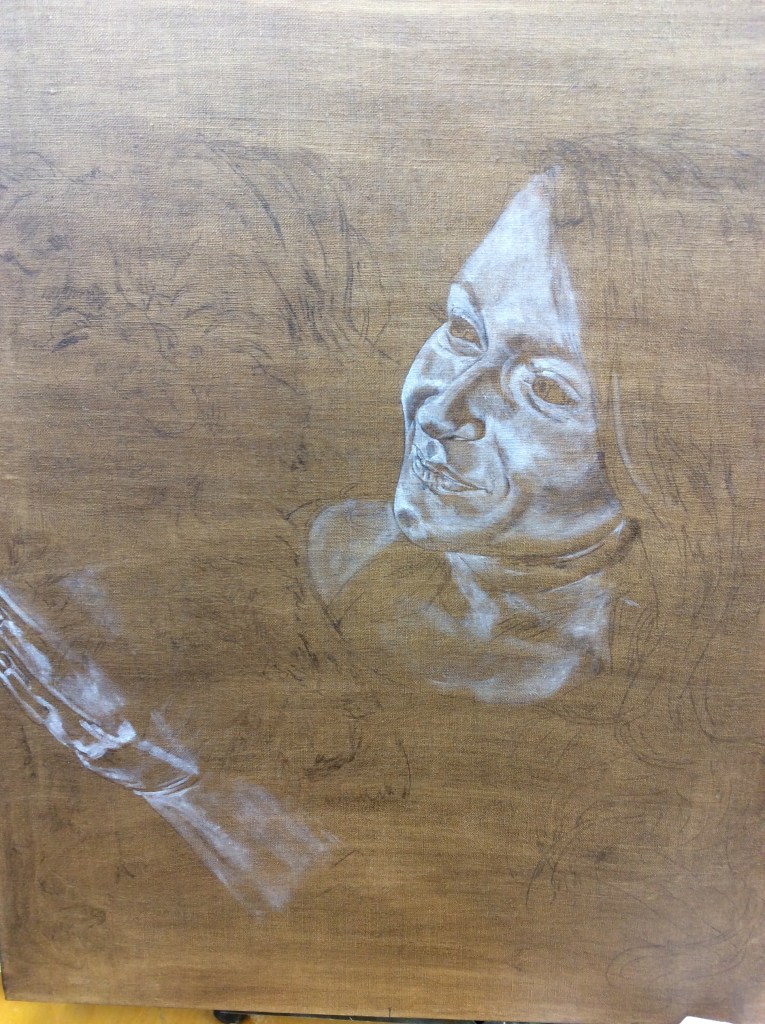
Yes, I have a method, so, you would think this process would follow along the routine steps and I would never get lost. WRONG! Perhaps I just forget something, or maybe I decide to skip a step, or maybe something just doesn’t seem right. I have messed up so badly at times that my only option is to call the mess I have an under painting and drop back to square one. Then again, maybe I don’t know why something isn’t right. What I want you to think about and understand is that you must trust your ability. And, I believe in a higher power and I ask YAH to intervene. This gets me on the right track and I come to understand what move to make next. Believe me, if your flesh tone looks blotchy, do another layer and then another. Each time you paint this face, you get to know it better. What you may not realize is that your brain is learning how to paint suppleness into the skin. You don’t need a teacher except to help the process move along more quickly. What your brain needs is failure and experience. This is how we were meant to learn. Get the point I am making here, please. Your brain is gaining mastery as you try to figure this out. How else could I have learned. I looked and I tried and failed and began to recognize my own improvement. Don’t give up. I am grateful I kept trying.


If you have drawn a small sketch and want the painting to be larger, or if you have a small photo and want to make a larger sketch to paint, then you should learn how to do a graph or grid for this purpose. You can find videos and explanations of how to do this on the internet. I will tell you the basics. Always start by finding the center. Find the middle from the long and short sides and draw a straight line both ways on the photo or sketch. Where they cross will be the center. Precisely measure one inch from these lines and add more lines in a checkerboard fashion, being sure to always double check the measurements. Now decide how big you want your final painting to be and make the distance between the lines increase by the correct amount. For instance, if your sketch is 8×10 and you want your painting to be 16×20, then the distance from one line to the other will be two inches instead of the one inch you started with. You can see that I also connect the diagonals too.
Now look at your original photo or sketch. Starting with any feature, draw on the larger graph a mark in a square or triangle that exactly matches the smaller one, just remember to make it the increased size. If you are careful to follow the pattern and not confuse the placement of your marks, then you proportions and likeness should be good.
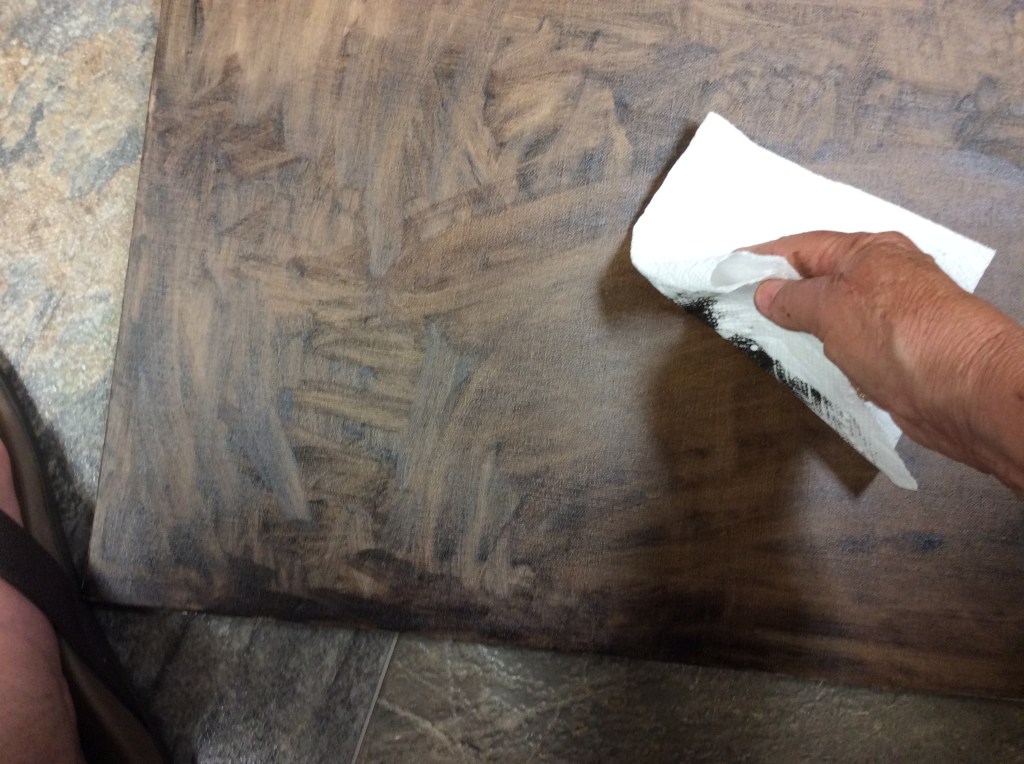

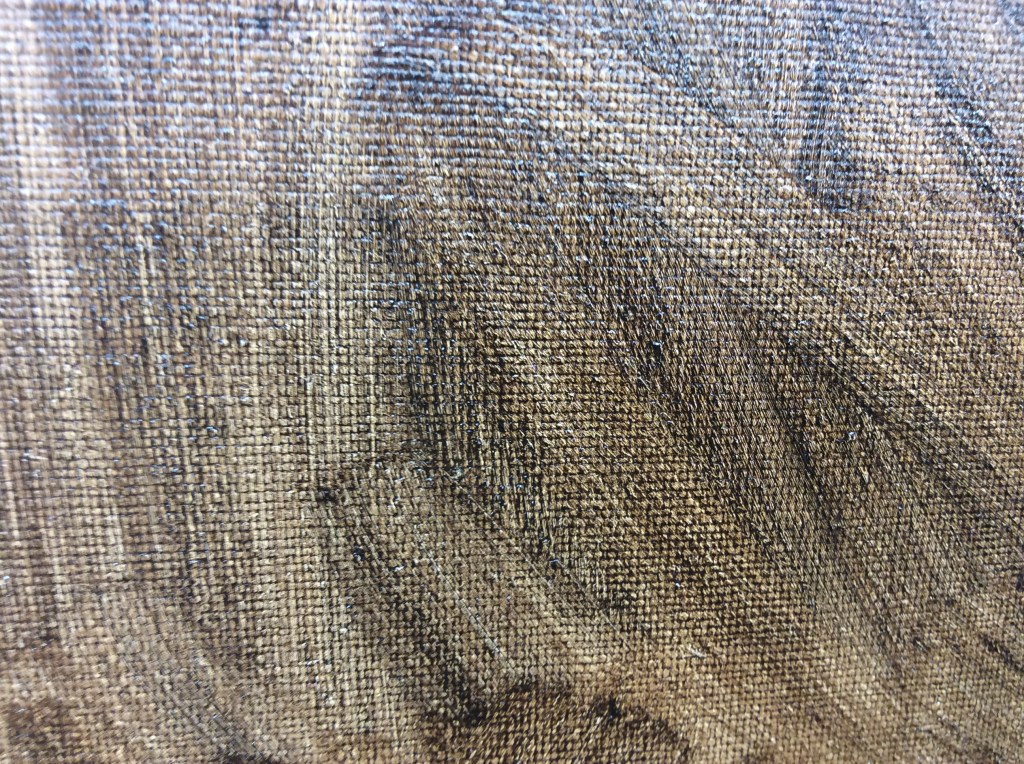
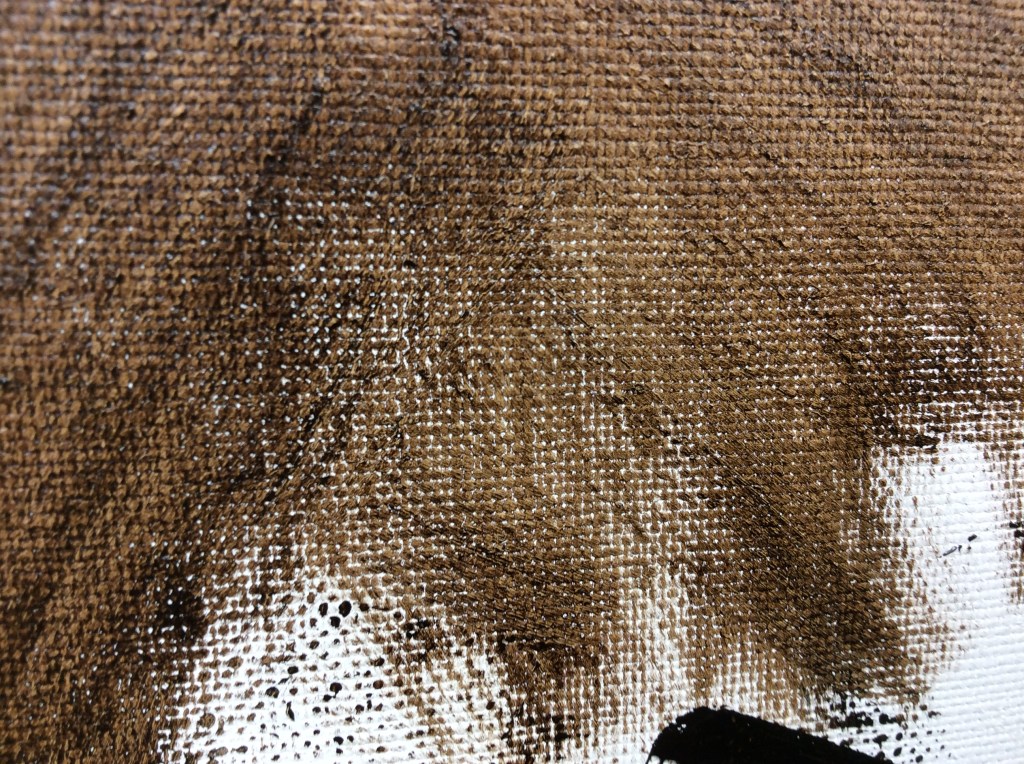
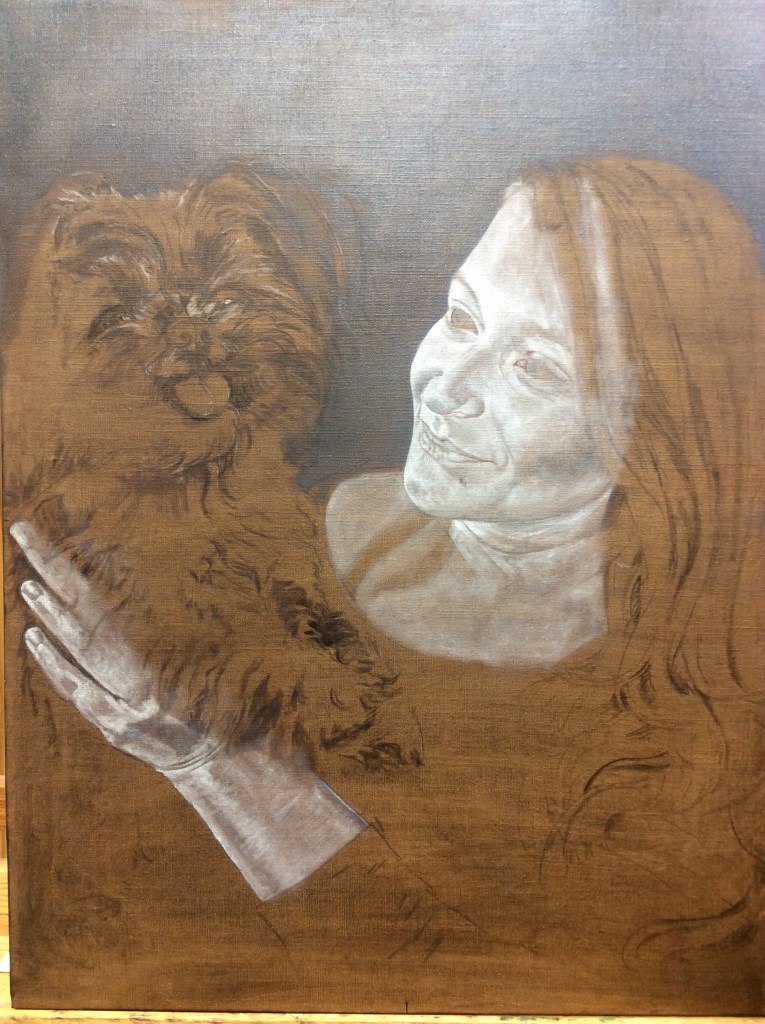
First step is to apply the mixture to the canvas with the back side of a pallet knife. This puts a thin amount in evenly spaced areas.

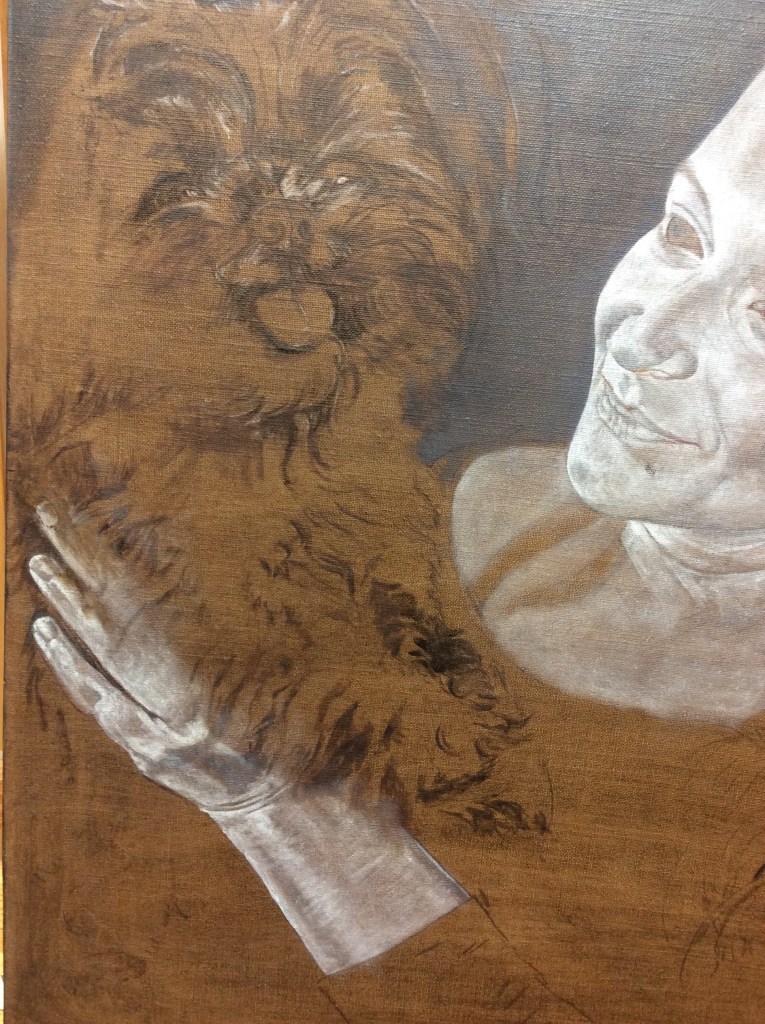
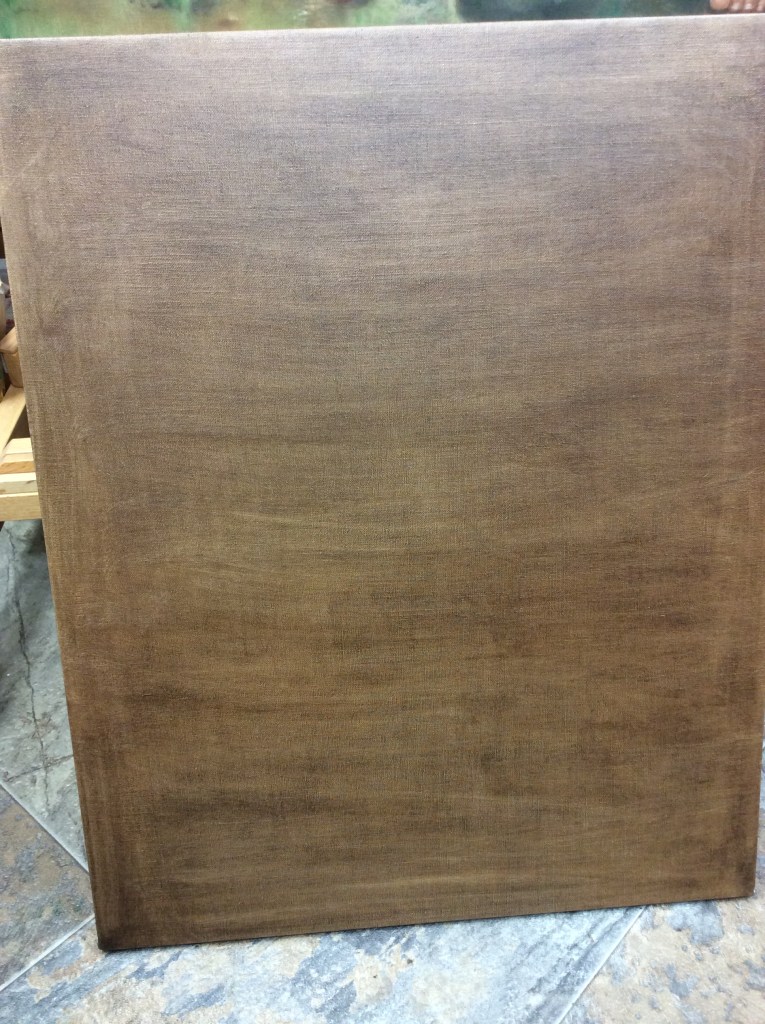
The bold type was annoying me and I guess it will post that all as the title.🤪 Now, for those of you who don’t know how to pre coat a canvas for a portrait, I will download some photos to show you how I do it. I mix burnt umber and French ultra marine till I get the degree of gray/brown that I want. As you will see in the photos that I will post, I apply this mixture with an even covering, being sure to fill in all the white.
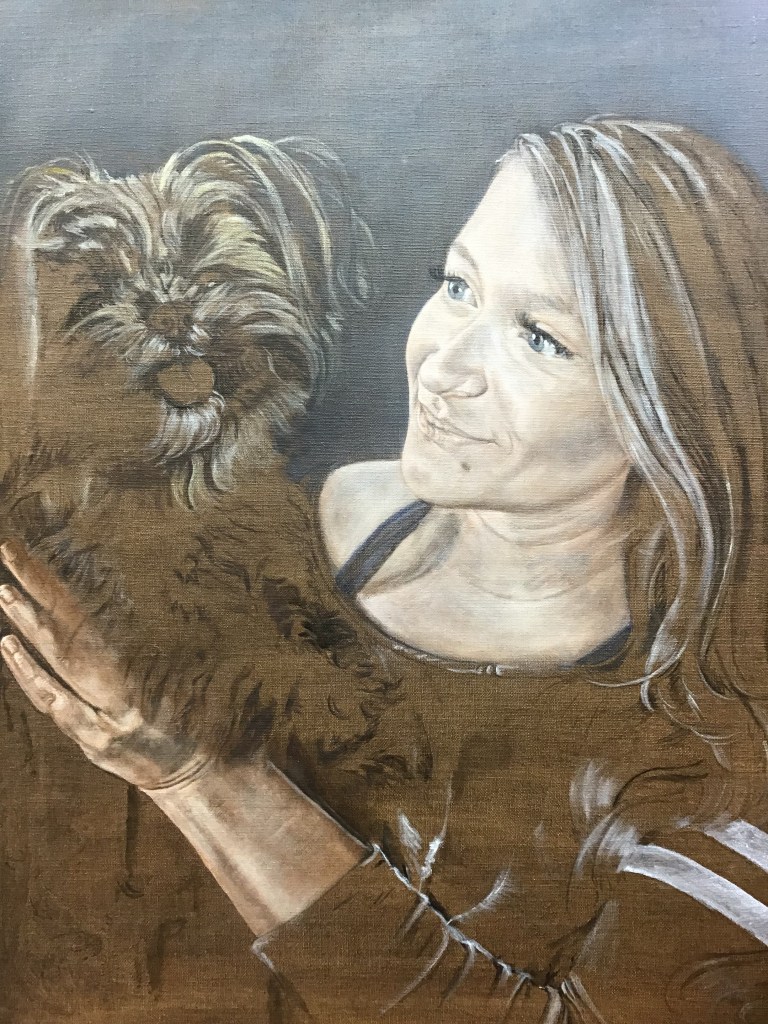
I will download the photos tomorrow so you can check this then. I just want you to know that I am going to try to keep you posted on the progress of my next painting. If you watch carefully and read the blog, you should be able to learn a lot about my process. Shalom.
.
